
Steps to create an agent using a shared file to Load input urls in the Data List Command
How to create shared file ?
-
In the Sequentum Cloud dashboard page, navigate to any spaces and then click on the New Shared File section on the dashboard page. Upload the CSV or Text file in ‘Create Shared File’ page to make it accessible for your agent
How to use a shared file to load multiple URLs?
-
In the Data List command, select the uploaded shared file as the data source to load input URLs.
How to configure the URL command to load the URLs?
-
In the agent editor, Use the "URL" command to access the URLs from your uploaded shared file by using the "Data list" command.
Sequentum Cloud enables users to create agents that can efficiently handle multiple URLs by using shared files. In this guide, we’ll walk through the steps to create an agent in Sequentum Cloud that uses an input file to load and process multiple URLs through the shared file.
How to create a shared file ??
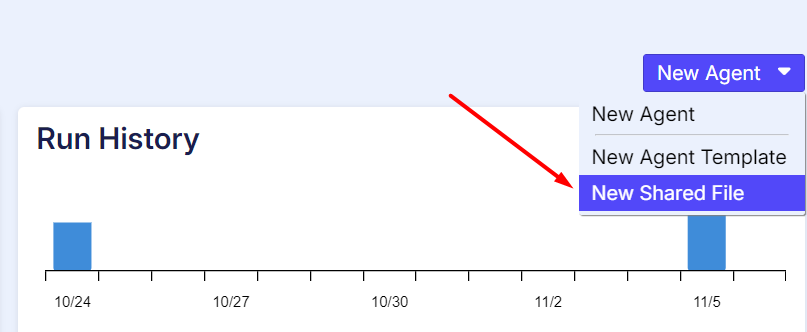
Step 1: Open the dashboard page and navigate to any of the Space and then click on the New Agent Tab and select the option ‘New Shared File’
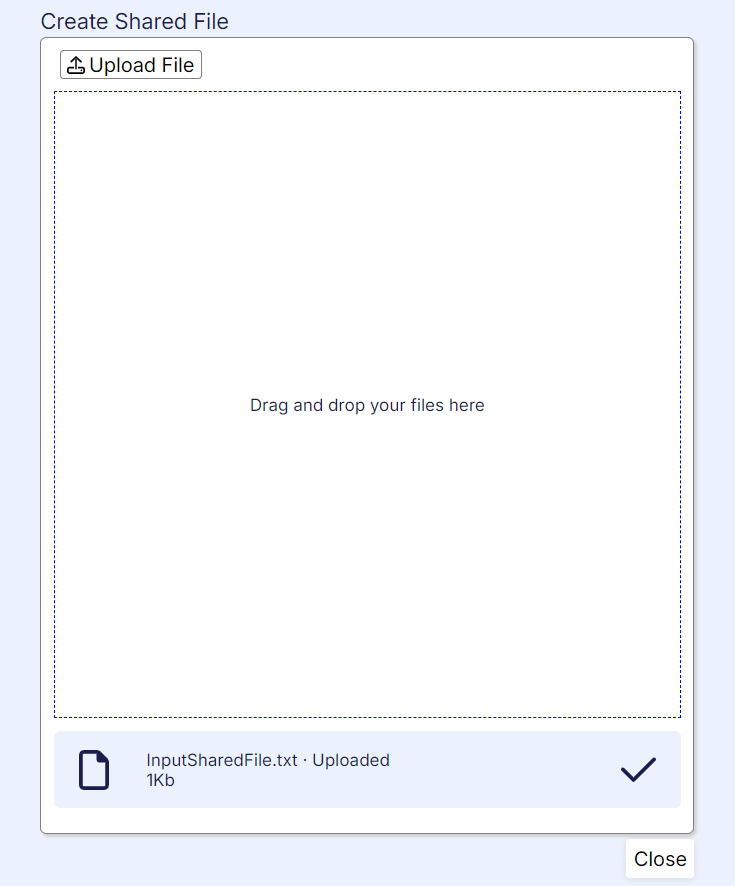
This will open the 'Create Shared File' window, where you can upload the file you wish to access in the Data List command.
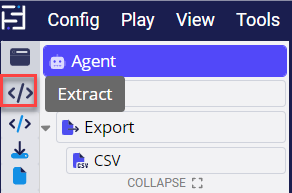
Step 2: Open the editor window and navigate to the Agent command and then click on the 'Extract' icon as shown below to proceed. This will open a list of commands
Step 4: Next, select the 'Data List' command as shown below…
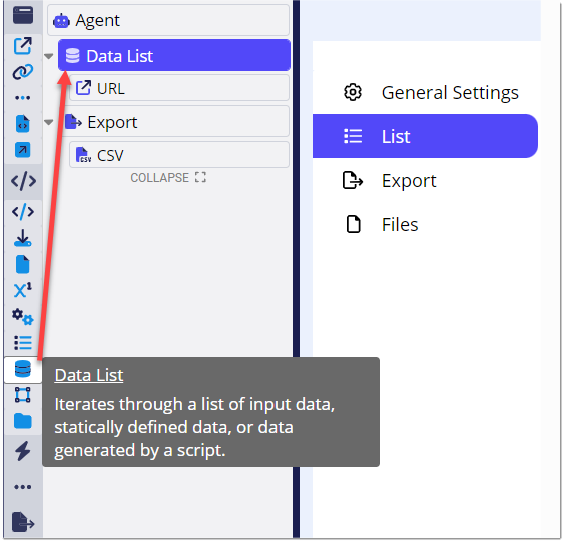
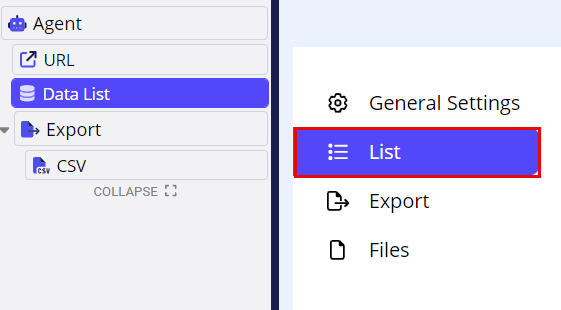
Step 5: After adding the 'Data List' command, navigate to the 'List' option.
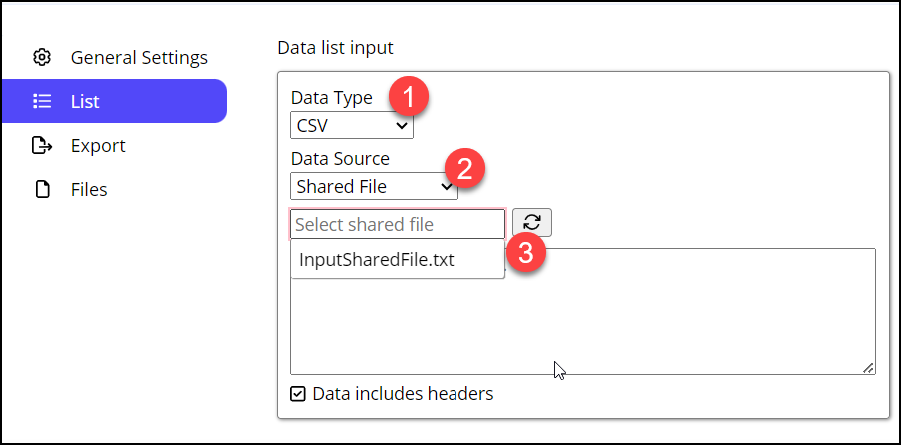
Step 6: Select 'Data Type' as 'CSV' and 'Data Source' as 'Shared File.' Once 'Shared File' is selected, click on the 'Select Shared File' box to display the shared file created in Step 1.
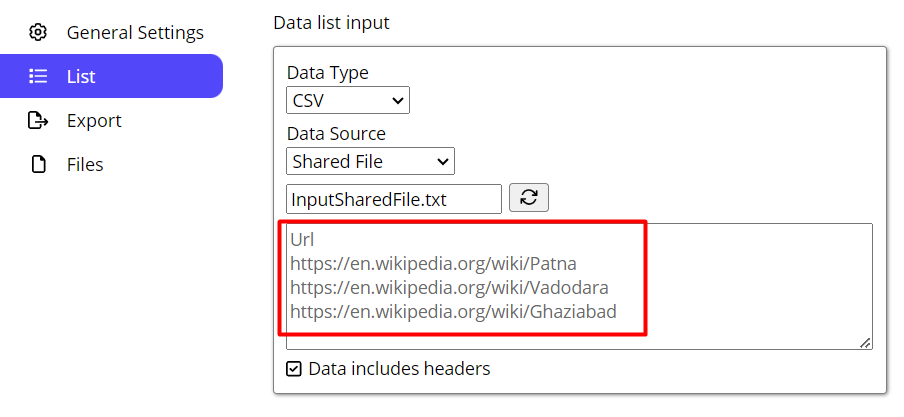
After selecting the shared file, you will see that the inputs urls will be displayed as below-
How to configure the URL command to load the URLs?
Step 7 : In the Browser group command, click on the 'URL' command and add it under the 'Data List' command.
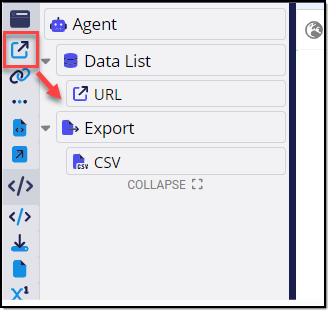
Step 8: After adding the 'URL' command, navigate to the 'URL' option and select 'Data List' from the ‘URL’ dropdown menu.
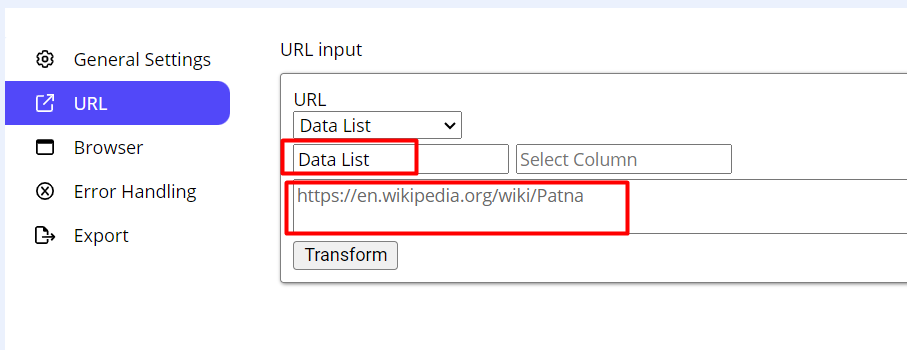
Note:
Additionally, you can generate the agent in text format by clicking on the 'Text' option in the right panel, as shown below.
This text format can be saved locally by clicking the option available at the bottom.
Agent:
	Proxies:
		Run Without Proxies: true
	Commands: Data List
		CSV:
			Source: Shared File
			Path: InputSharedFile.txt
		Commands: URL
			Input:
				Command: Data List
				Data Field:
			Commands: Content
				Name: City Detail
				Extract: //div[@class='mw-content-ltr mw-parser-output']/div[2]
	Export:
		Commands: CSV