How to Import an Agent Text File
We can import the Agent Text File of another agent using two methods:
Uploading the Agent Text File in the Control Center.
Importing the Agent Text File within the agent.
Uploading the Agent Text File in the Control Center
There are two ways to directly upload the Agent Text File:
1. Drag and Drop Option
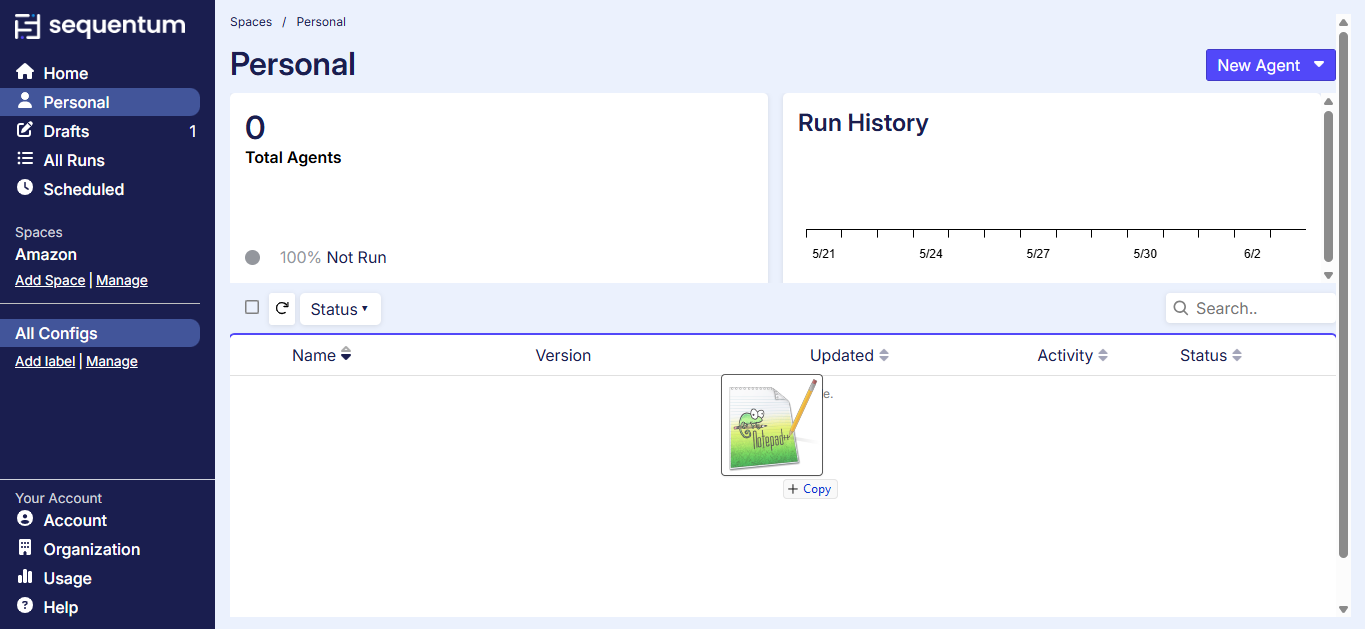
Step 1: Navigate to the space where you want to add the agent.
Step 2: Select the Agent Text File in the directory where it has been saved. Click and drag the file to the space, then release it to upload.
(Refer to the screenshot below for clarification.)
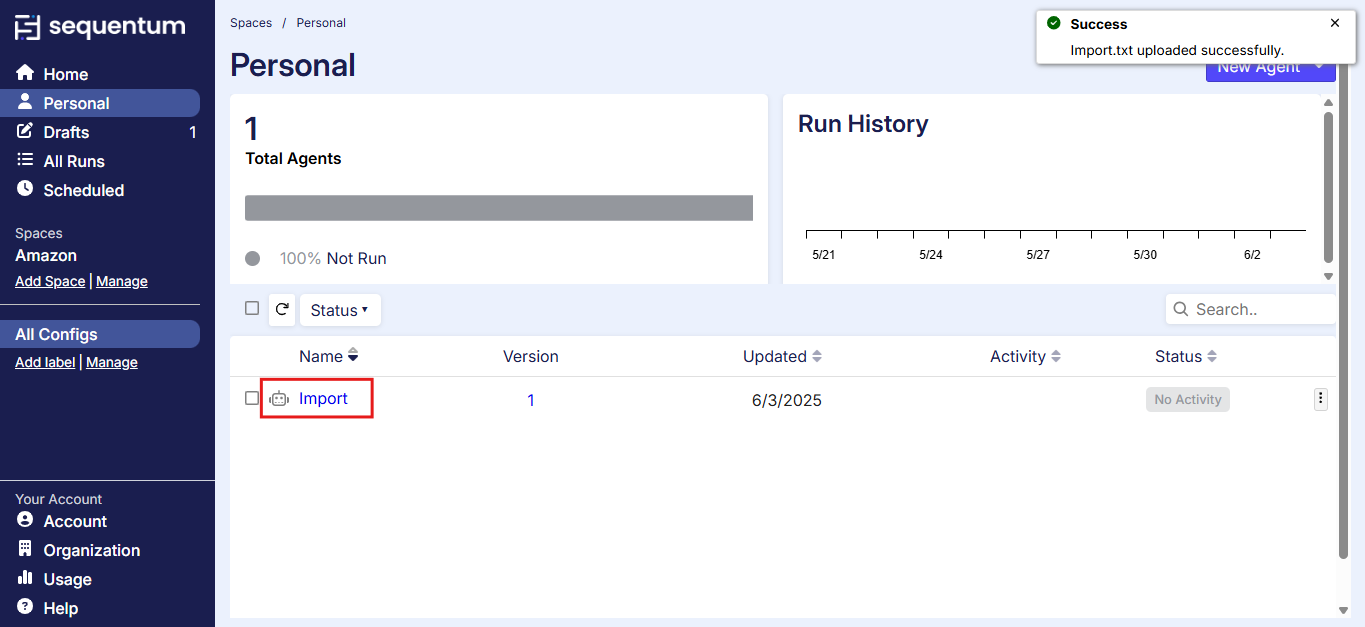
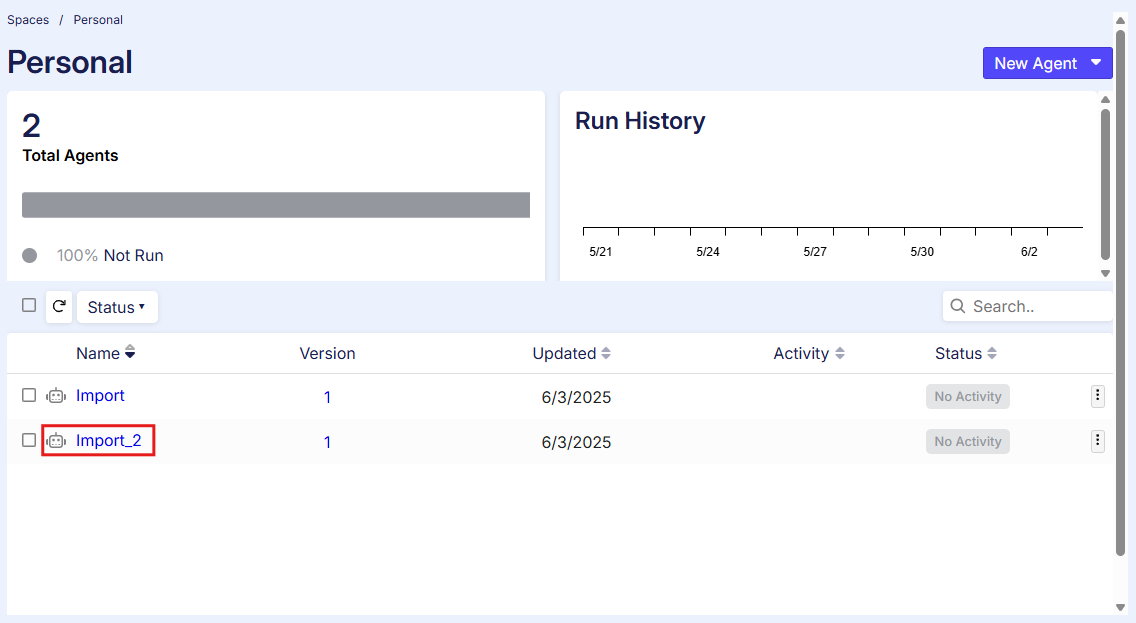
Step 3: Once you release the mouse, you will see that an agent has been added to the space.
Upload from shared Files
Step 1 : Go to the space where you want to add the agent.
Step 2: Click on drop down near the New Agent Button.
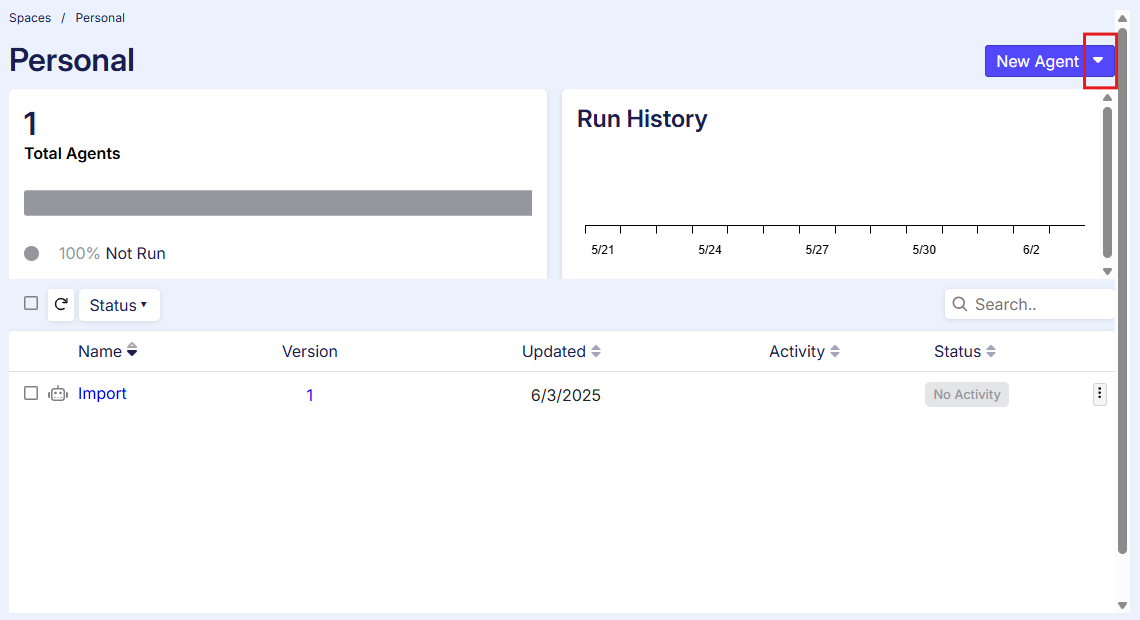
Step 3: Now click on New Shared File on the button.
Step 4: A new pop up will appear then click on the Upload File.
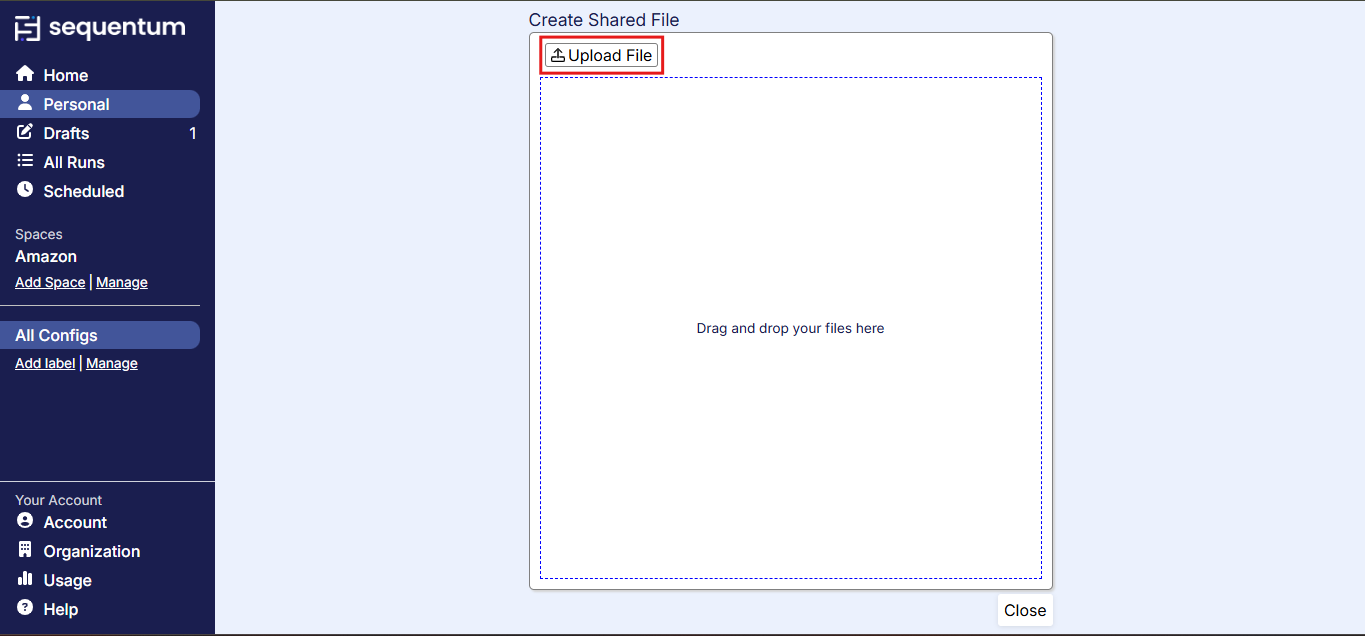
Step 5: Select the Agent Text File from your directory and click on Upload. This will add the agent into the space.
Importing the Agent Text File within the agent.
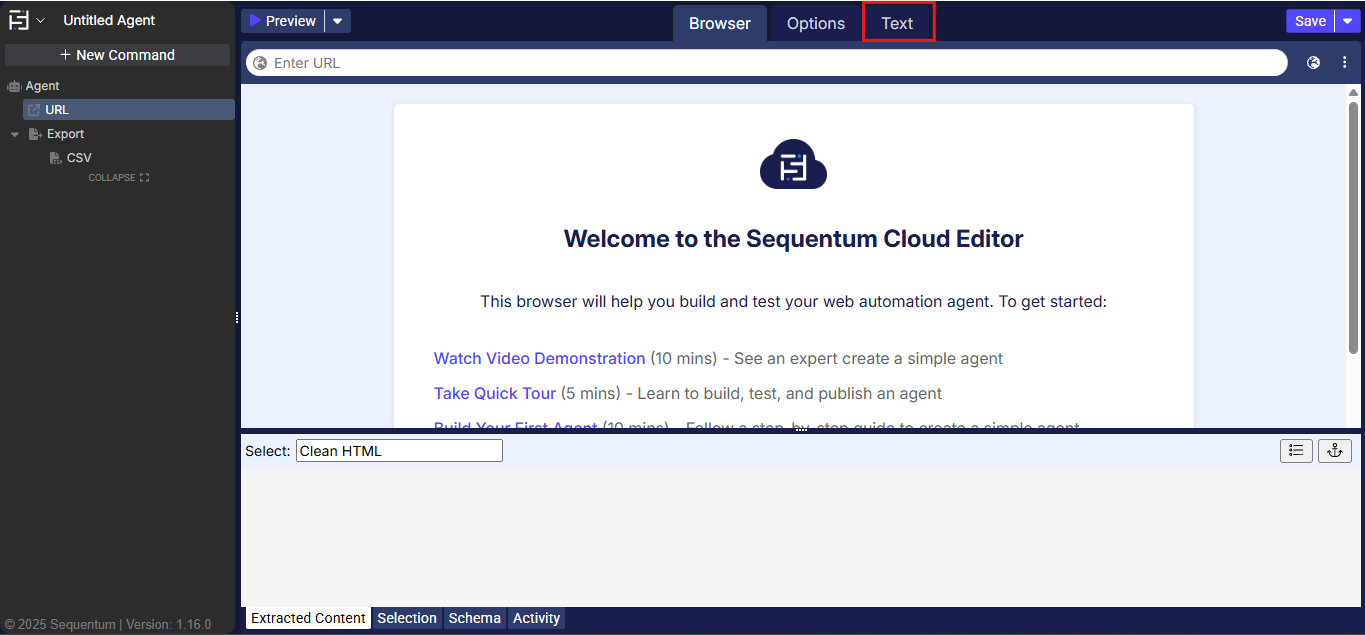
Step 1: Create a New Agent .
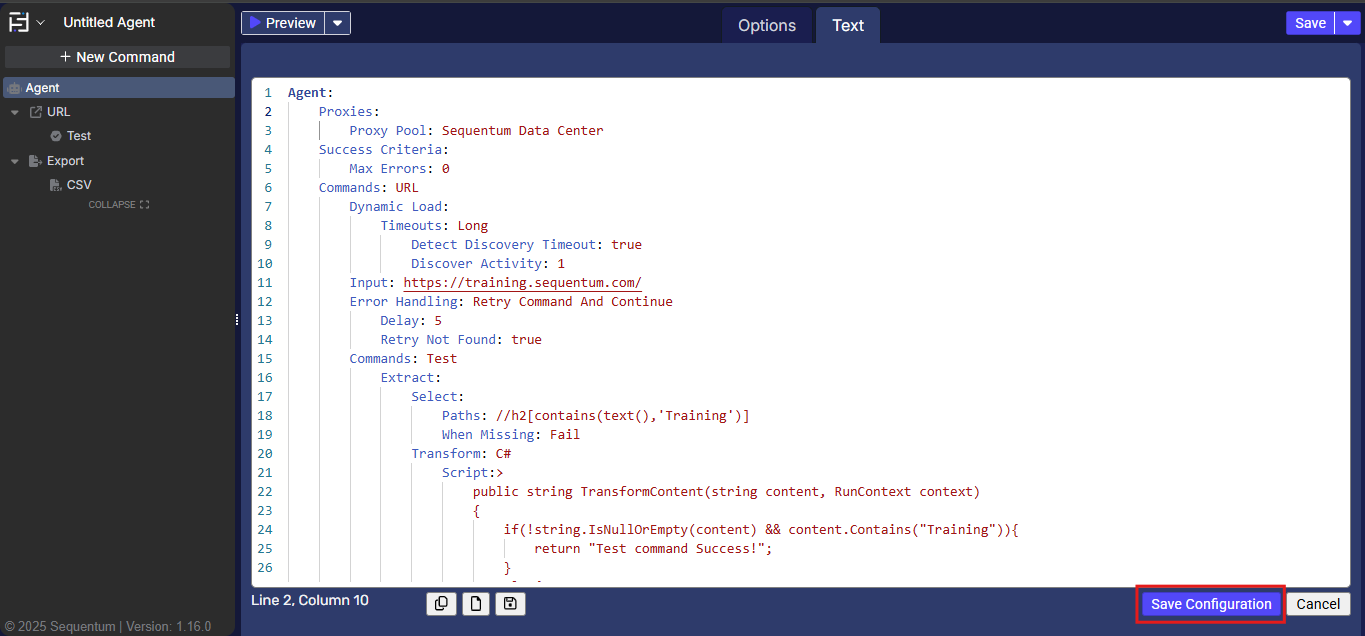
Step 2: Click the Text option located in the center-right section of the window.
Step 3: Click on the Import From File option to import the agent text
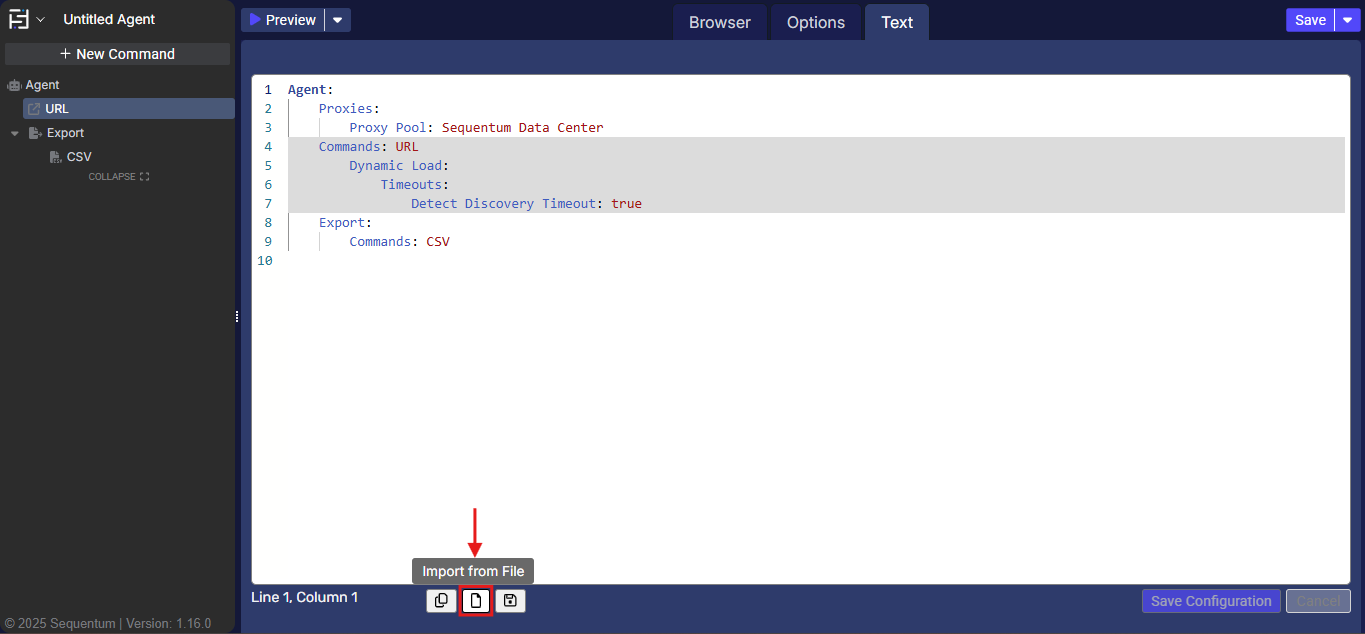
Step 4: Select the Agent Text File from your directory where you have saved it.

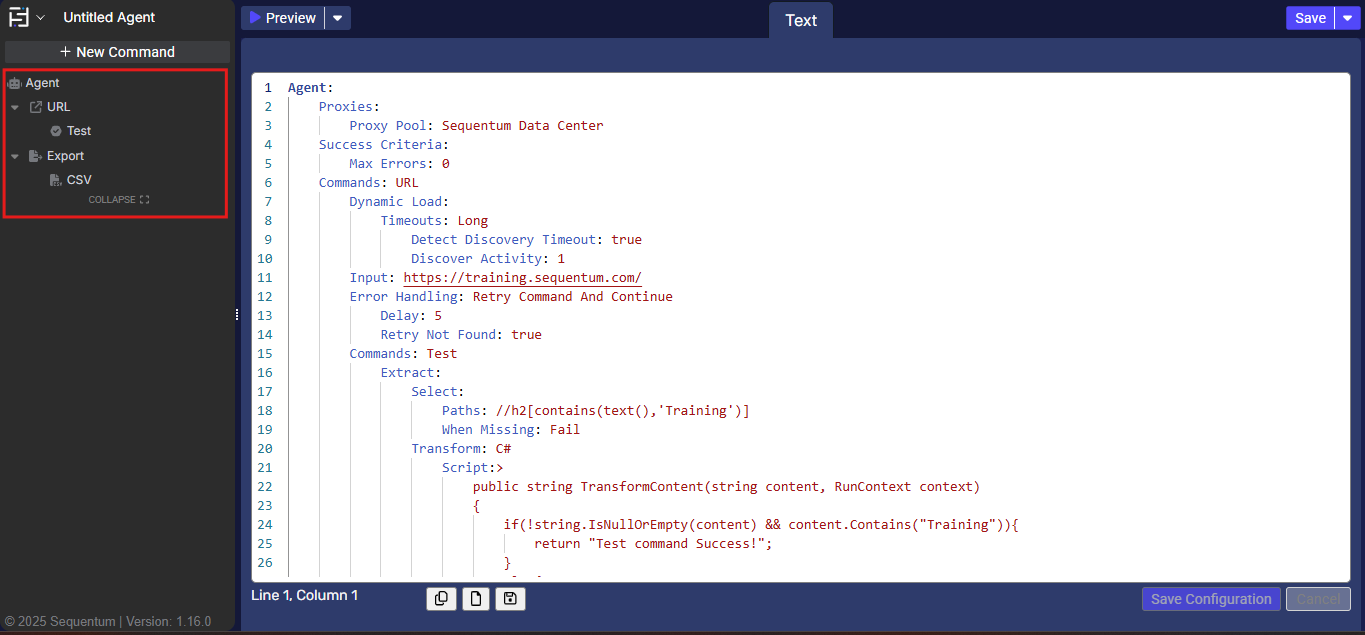
Step 5: You will all the text has been added from the file , then click on the “Save Configuration”:
Step 6: After saving the configuration , you will see that all the commands have been added successfully.