Manage Labels
Labels
This section allows users to quickly perform actions by listing agents sorted by label. Clicking on a specific label in the list will filter the display to show only the agents associated with that label.
Users can create labels within a specified space, which can be accessed and used later.
Create Label:
To create a label, navigate to the desired space. The 'Add Label' option will appear. Click on 'Add Label' to open the 'Create Label' window.
In the 'Create Label' dialog box, enter the label name and select the space where you want the label to be applied.
Filter Option:
Choose between 'None' and 'Config.'
'None' will display only the items associated with the label.
'Config' provides additional filtering options, such as 'Config Type' (Agent, Template, Input Data) and 'Status.'
To create a label, users need to enter the required details and click the 'Create Label' button.
Applying Labels to Items:
Users can select the items they wish to label from the available list within the space.
To apply a label, select the desired item (Agent, Template, or File) and click the 'Apply Label' button, as shown in the diagram above. Then, check the label checkbox for the label you want to apply to the selected items.
Once applied, the label name will appear on the page, allowing users to better organize and quickly access relevant data within the V4 Editor.
Manage Labels:
Click the 'Manage' button next to the 'Add Label' button to view all the labels that have been created. On this page, you can also create a new label by clicking the 'New Label' option, as shown below.
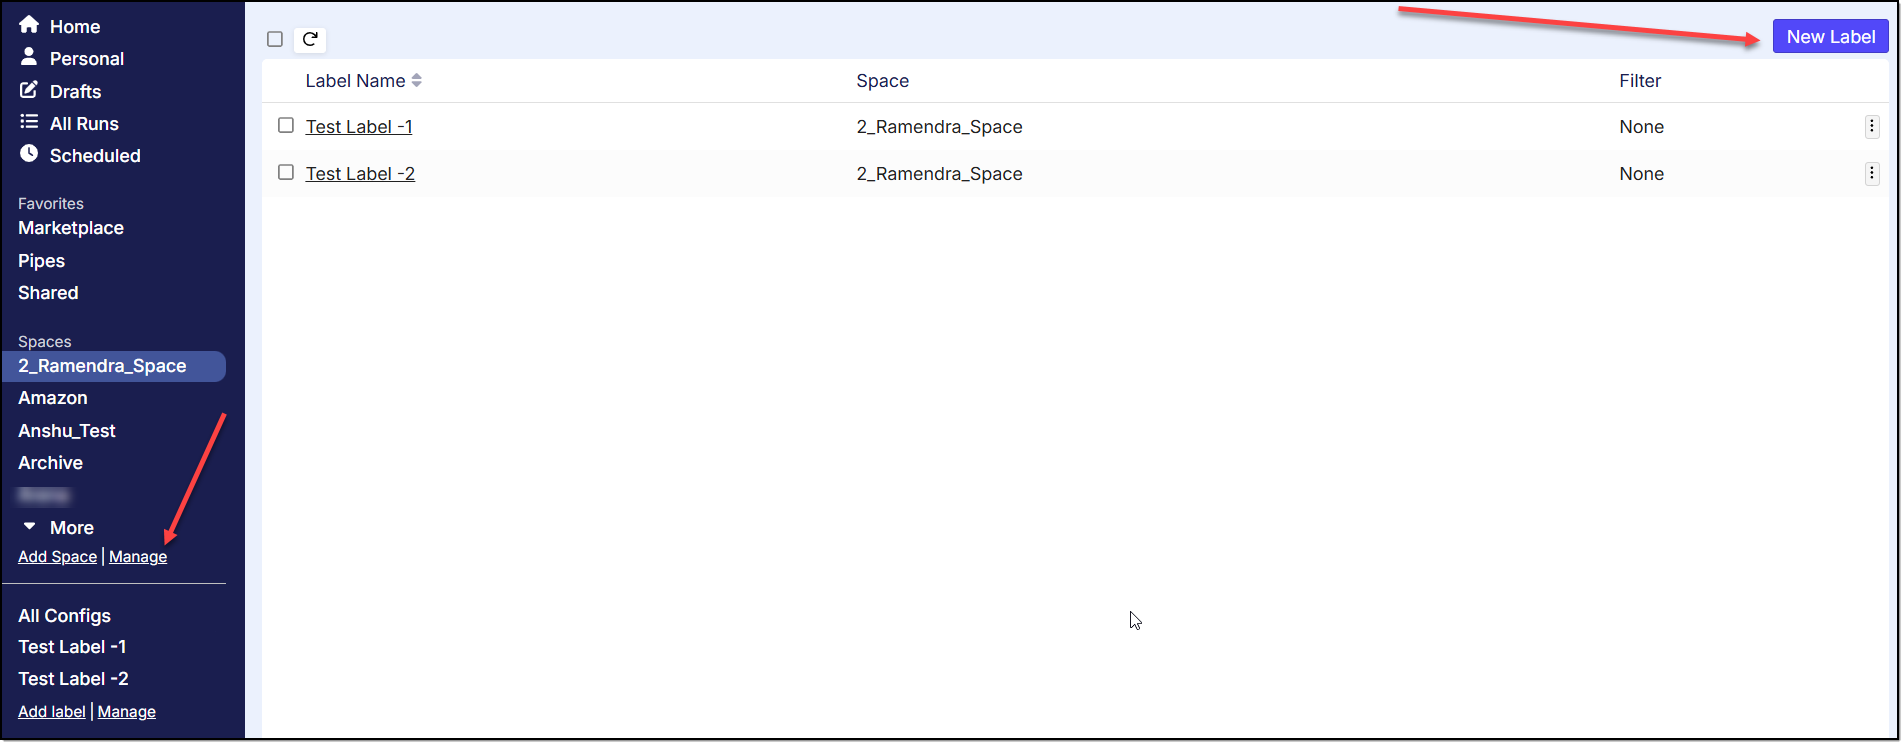
On the 'Manage Labels' page, users have the option to edit or delete any previously created labels as per their requirements.
Edit Label:
There are two methods to edit the Labels:
Method 1} By going through the label context menu by clicking on triple dots available in right side and then selecting the “Edit” option:

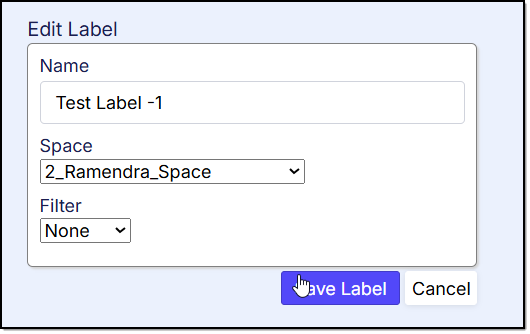
Method 2} By clicking on the name of the Label:

Both methods will navigate you to a new screen where you will see the details of the label already filled in:
Label Deletion:
Similar to ‘Edit Label’, we have below two methods to delete the user:
Method 1} By going through the label context menu by clicking on triple dots available in right side and then selecting the “Delete” option:

Method 2} By selecting the specific label and clicking the “Delete” icon on top:

A confirmation popup will appear and you can proceed by clicking 'Delete' to confirm your decision to delete the selected Label.
Multiple Users Deletion:
To delete multiple labels, you need to select the specific labels and then click the “Delete” icon on top. You will receive a popup to confirm your decision, you can proceed by clicking “Delete”:
