Manage Spaces
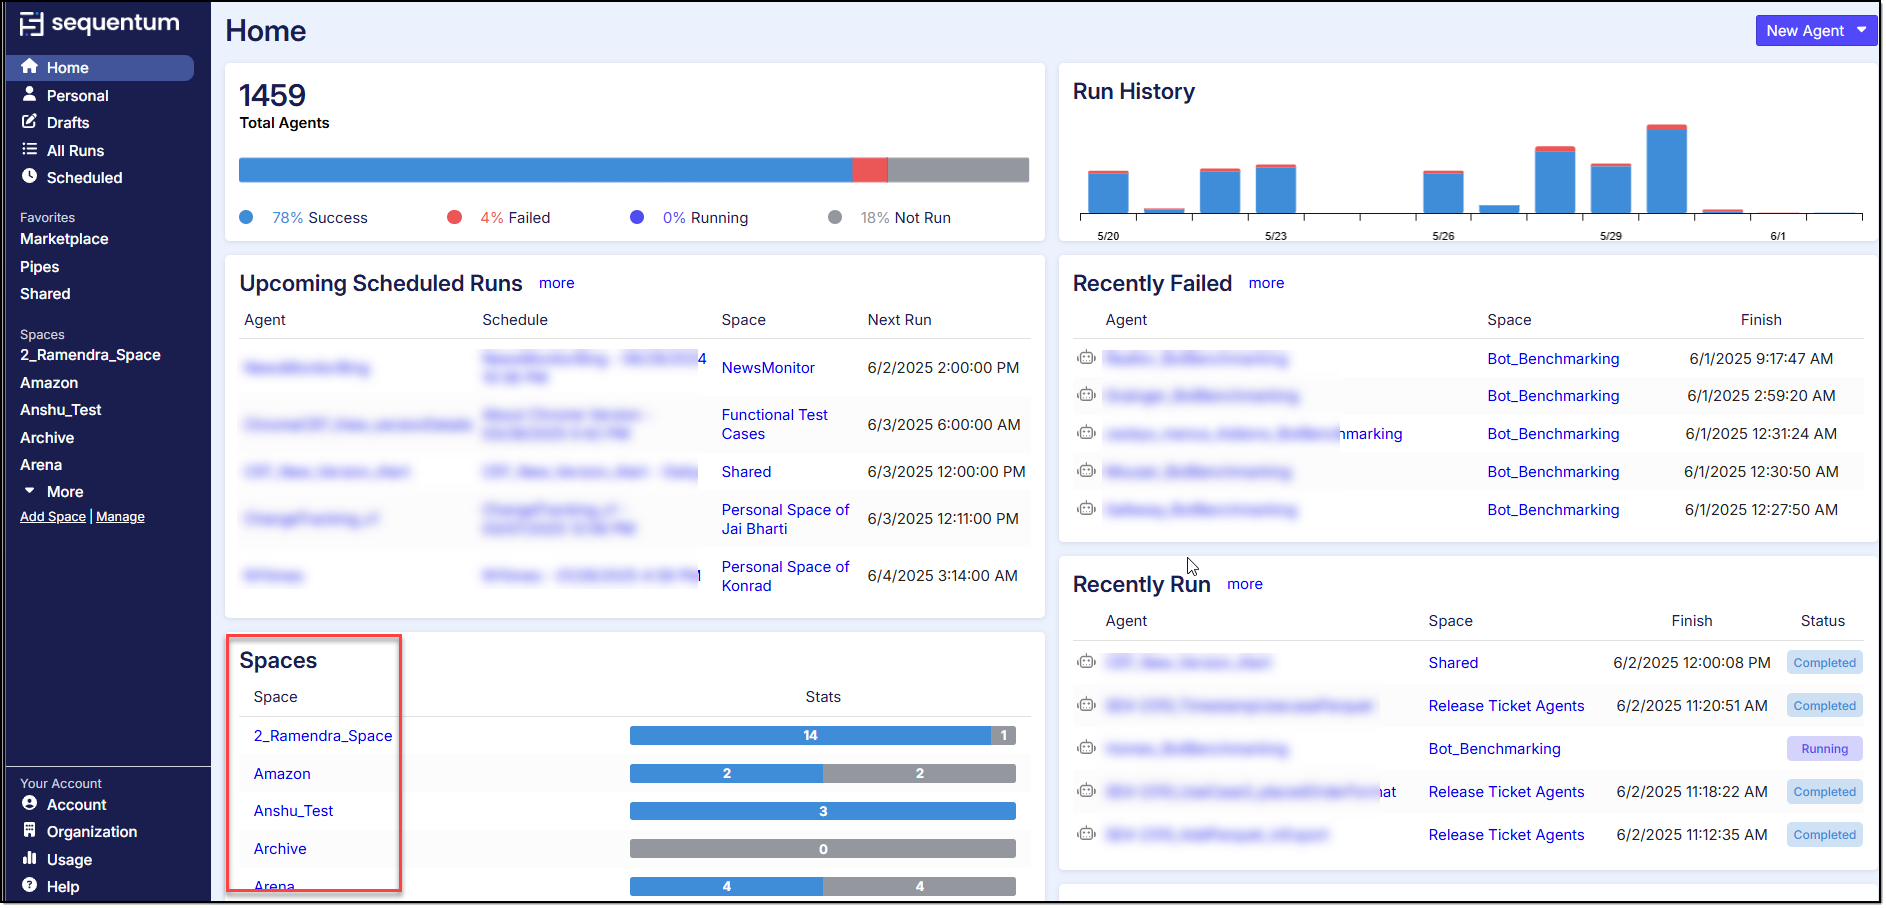
Spaces act like folders for organizing agents, each with a specific purpose. The Dashboard page is accessible to all users within the organization and provides an overview of all agents from different spaces. In the Home space, you can view agents that have recently failed, recently run, or been recently updated, offering a centralized view of key agent activity.

The 'Personal' space is reserved for individual use, containing agents tailored to personal needs.
The 'Shared' space is accessible to team members for collaborative editing of agents. Agents in this space are intended for shared use and team collaboration.
Create Space: Users can create a new space based on their requirements by selecting the 'Add Space' option.
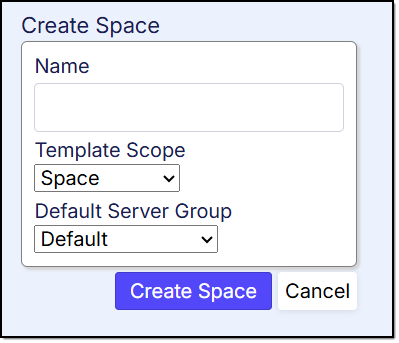
It will navigate you to a new window as shown below:

Here, you can enter the name of the space, choose the scope as either 'Space' or 'Organization' from the dropdown, and then click the 'Create Space' button to finalize the creation.
Manage Spaces:
Users can manage spaces by updating, deleting (individually or in bulk) or creating new spaces directly from this page.
Users can create the new space by clicking the “New Space” and enter the required details in the new open window.

Users can edit the spaces by two methods:
Method 1} By going through the space context menu by clicking on triple dots available in right side and then selecting the “Edit” option:
Method 2} By clicking on the name of the Space name
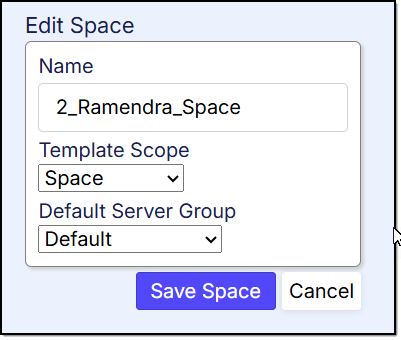
Both methods will take you to a new screen where you will see the details of the space already filled in:

You can change the space details by updating the text boxes and clicking the button “Save”.
Space Deletion:
Similar to editing spaces, users have two methods for deleting spaces:
Method 1} By going through the Space context menu by clicking on triple dots available in right side and then selecting the “Delete” option:
Method 2} By selecting the specific Space and clicking the “Delete” icon on top:
A confirmation popup will appear and you can proceed by clicking 'Delete' to confirm your decision to delete the selected Space .
Multiple Space Deletion:
To delete multiple spaces , you need to select the specific spaces and then click the “Delete” icon on top. You will receive a popup to confirm your decision, you can proceed by clicking “Delete”:
Bulk operations within the Space
Users have an multiple options that are applied on the agents such as multiple agent execution, Move multiple agents in another location, apply templates and shared files on multiple agents, Delete multiple agents, apply Labels on multiple agents
Users have a range of options for managing agents, allowing them to perform various bulk actions:
Run all listed Agents and templates:
To execute all the agents within the space at once, simply click on the 'Run All Listed Agents and Templates' option, as shown below. This action will initiate the execution of all agents in the space
Run all selected Agents and templates:
To execute multiple agent runs simultaneously, start by visiting the space. Here, you can select agents by ticking the checkboxes next to each one. If you wish to select all agents in the space, simply check the main checkbox at the top of the list.
Move to: The option to move multiple agents to a different space is available, making it easy to reorganize or distribute agents based on changing needs or priorities.
Users can perform these actions by selecting agents using the checkboxes next to each one, or by clicking the main checkbox to select all agents at once. After selecting the desired agents, click on the 'Move To' option and choose the target space from the dropdown menu to relocate the agents.
Once you have selected the target space, click on the 'Move' option to relocate the selected agents to the desired space.
Apply templates: Users can apply predefined templates or shared files to multiple agents in one action, ensuring consistency and saving time when updating configurations.
To apply a template to multiple agents, begin by selecting the agents using the checkboxes next to each one. Then, choose the 'Apply Templates' option to proceed.
After selecting the target template, click on the 'Apply' option to apply the chosen template to the desired agents.
Delete selected: For situations where agents are no longer needed, users can select and delete multiple agents at once, simplifying maintenance tasks.
To delete multiple agents within a space, users can select the desired agents and then click on the 'Delete Selected' option. After clicking the delete button, a confirmation pop-up window will appear, prompting users to confirm the deletion.
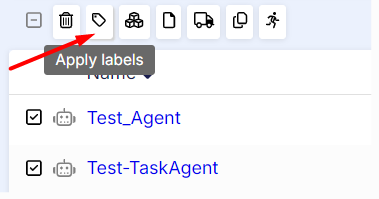
Apply labels: Users can organize agents by applying labels to multiple selected agents, facilitating better categorization, searching, and management.
These options provide a flexible and efficient way to manage agents, allowing for streamlined operations and enhanced productivity.

