Data List Command
The Data List command is a versatile tool that allows you to process multiple data points simultaneously. It iterates through a specified list of input data, statically defined data or data generated by a script as well as executing the main command and its subcommands for each data item. This efficient approach streamlines your workflow by automating repetitive tasks and enabling you to apply the same operations to different data sets.
The Data List command is located under the Extract option in the command palette (refer the below snapshot)

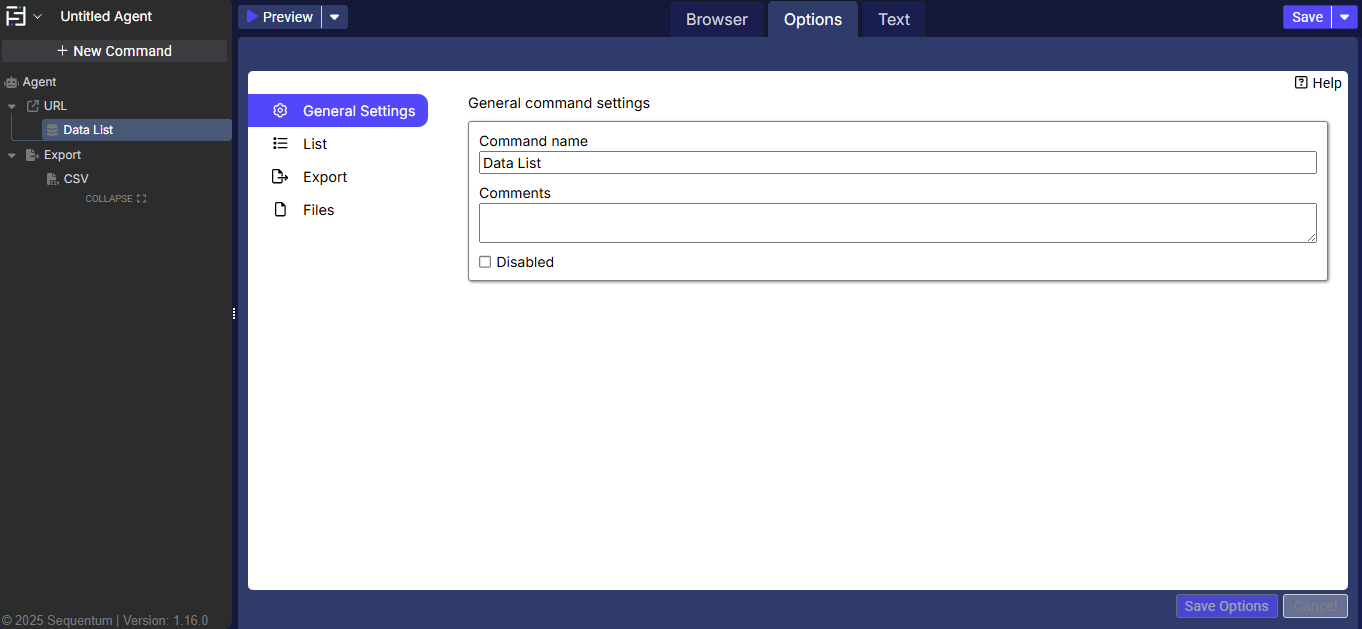
In order to make the optimum use of the Data List command, we can configure the options as shown in the below screenshot, as per the user requirement.
Command Configuration
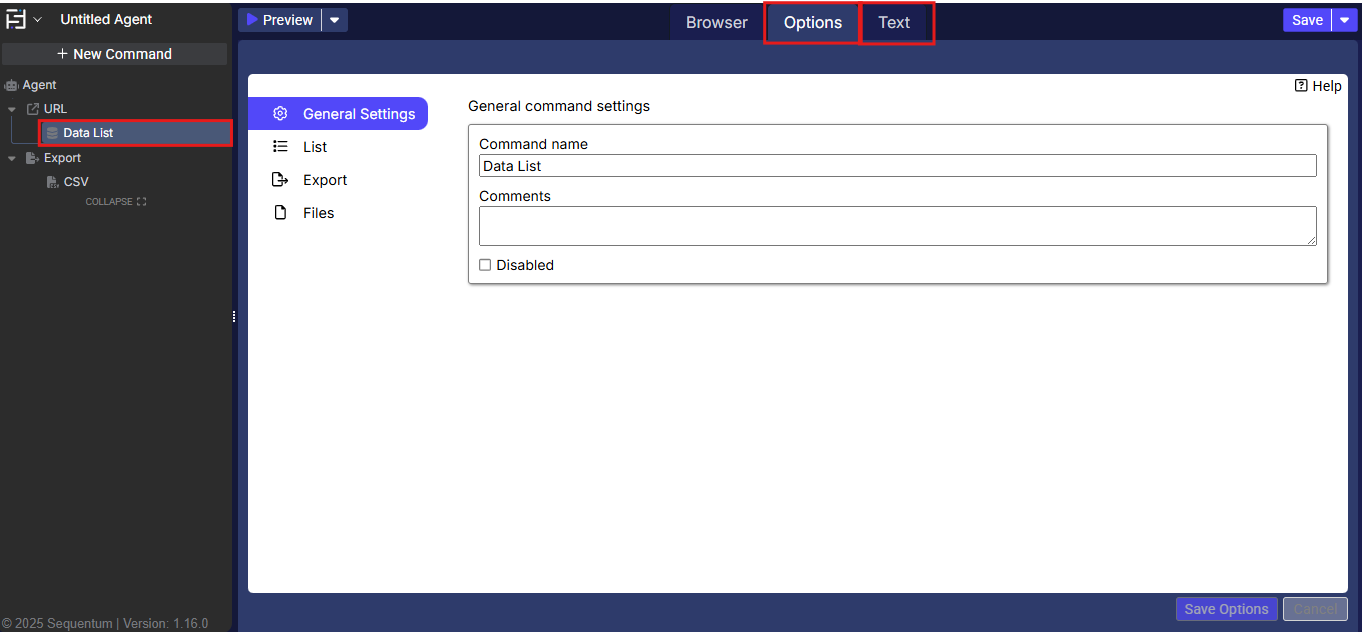
The configuration screen for the Data List command has two tabs viz. Options and Text. Use the ‘Options’ tab to set the command name and other command properties. Use the ‘Text’ tab to navigate to the text of the agent where the command part is present.
Command Properties
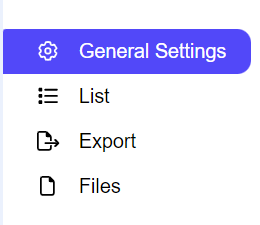
On the Options tab of the command, we have four options:
General Settings
List
Export
Files
General Settings → General Command Settings
The ‘General command settings’ section is designed for user customization to give the command a desired name, comment to describe in brief about the usability or requirement for the command and the disabled option to not execute this command at all.
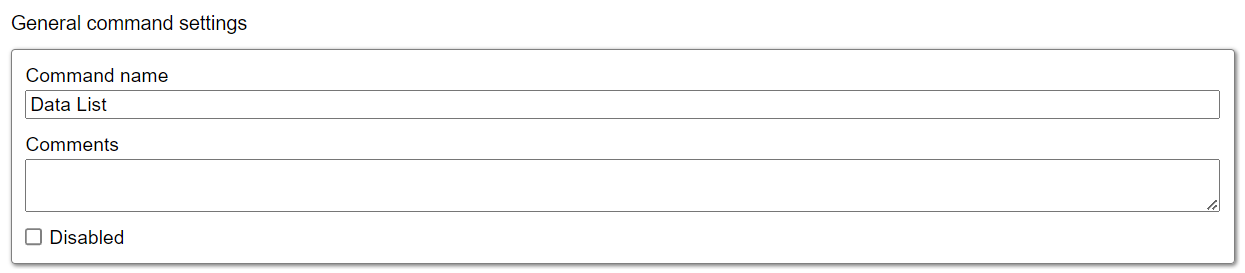
Command name: This property specifies the name of the command.
Comments: Provides a field for entering metadata or a brief description regarding the command. These annotations are used internally to provide context for developers or team members. Comments are not part of the exported data and are only used for documentation purposes within the configuration.
Disabled: This checkbox allows the user to disable the command. When checked, the command is ignored during execution. By default, it is unchecked.
List → Data list input
Data Type: The Data Type option in the Data List command provides flexibility in selecting the type of data or files you want to process. The Default value of the Data Type is “CSV”. Once you've selected the input source type, you can choose the specific source of that data or files. Available options include:

o CSV: Comma-Separated Values files, commonly used for storing tabular data.
o List: A simple list of values, separated by delimiters (e.g., commas, spaces).
o Selection: You need to enter relative XPath in order to select input values from a web page.
o Excel: Microsoft Excel spreadsheets, often used for complex data analysis and reporting.
o Parquet: A columnar file format optimized for large datasets, frequently used in big data applications.
o Date Range: You can specify a date range to use as your input values. For example, if you want input values to be sequential dates between January 1, 2019 and January 5, 2019, you can just set From = January 1, 2019, To = January 5, 2019, specify the desired date format, and you will get the following date range: 2019-01-01, 2019-01-02, 2019-01-03, 2019-01-04, 2019-01-05.
Data Source: The Data Source option allows you to specify the source of the selected data type. The available sources vary depending on the chosen data type. The default data source is "Manual," where you manually enter the data. There are a total of 5 data source types available:
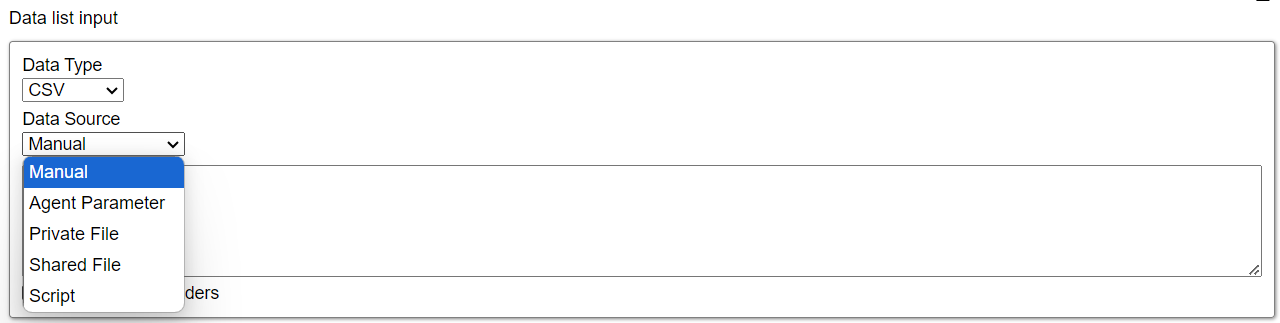
o Manual: This option is available for CSV and List data types and allows you to manually enter data.
o Agent Parameter: This option takes the value of any selected "Input Parameter" and uses it as the input source. It is available for CSV and List data types.
o Shared Files: Files stored within any designated space are referred to as shared files and are accessible to all users who have permission to access that space, making them both editable and readily available. You can utilize shared files across multiple agents within the same space; however, these files are not accessible from other spaces, ensuring they remain specific to the designated area.
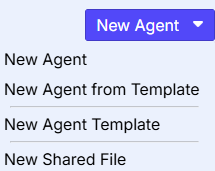
To upload shared files, click on the drop-down menu of the “New Agent” button, which will present you with two options, including the “New Shared File” option.
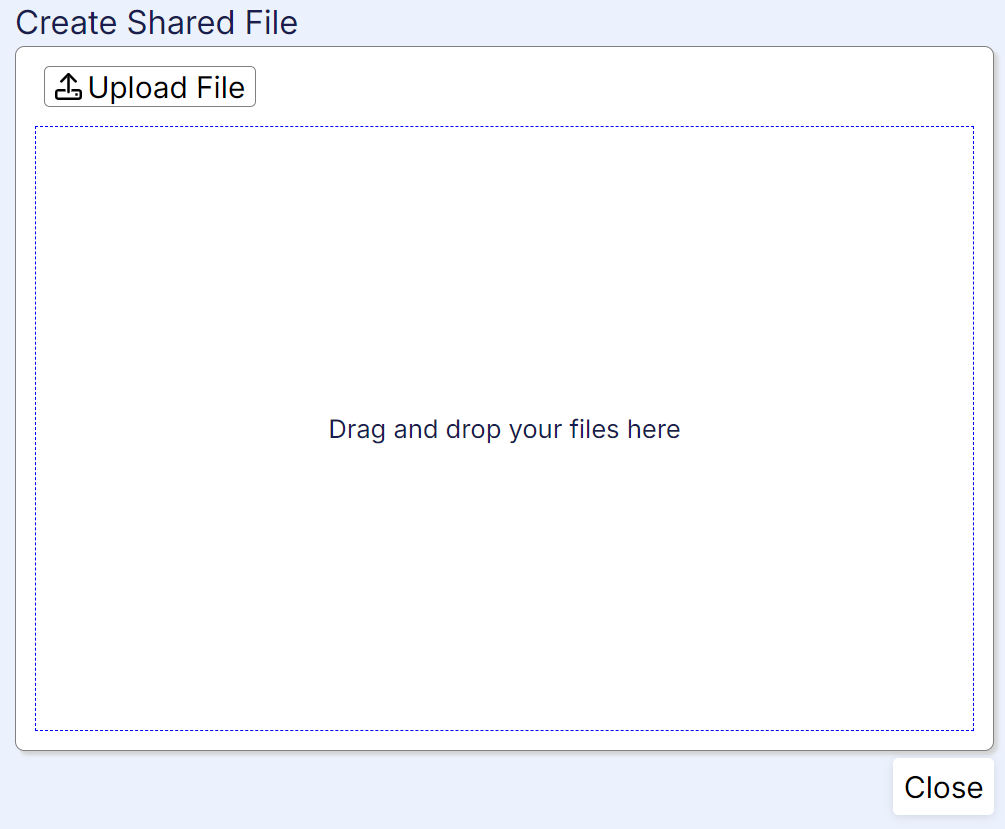
Once you select this button, you will be directed to the “Create Shared File” window, where you can either drag and drop your file or click the “Upload File” button to choose a file from your desktop or device.
o Private Files: These files are stored within the agent itself and are not easily accessible to other users. They are placed in the "Files" section inside the agent and can only be accessed by the same agent.
o Script: This option specifies the scripting language to use (e.g., C#, Python, JavaScript, or Regular Expressions) for accessing or manipulating data.
Example:
C#
#r System.IO.dll

using System.IO;

public string GetData(RunContext context)
{
    var filename = context.GlobalData.GetString("TickerInputFile");
    var filepath =  context.SharedFiles.GetFile(filename);
    var inputfile = File.ReadAllText(filepath);
    return inputfile;
}
Python:
Regex:
from se_scripting_utils import *

def get_data(context: RunContext):
    filename = "all_us_company_100.csv"
    filepath = context.shared_files.get_file(filename)
    file = open(filepath, "r")
return file.read()sequence 1 to 20 step 2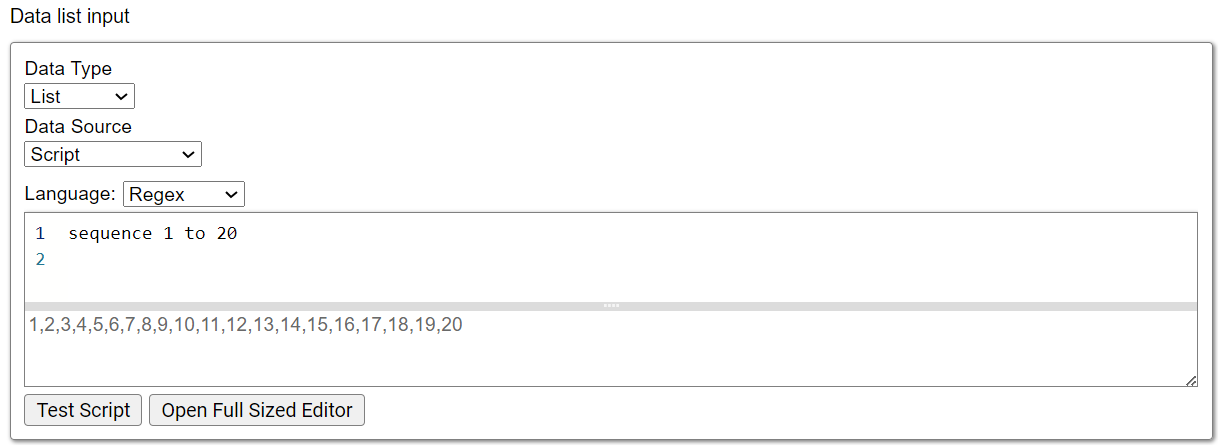
Data includes headers: The checkbox option in the Data List command allows you to specify whether the input data contains header rows or not. The Default value is Checked for all Data Types.
Checked: The first row is skipped, assuming it contains column headers. This is commonly used for file types such as CSV, Excel, or Parquet that typically include headers.
Unchecked: All rows, including the first, are processed. This is useful for data without headers or when you need to include the first row in processing.
By properly configuring this option, you can ensure that the Data List command processes your data correctly and efficiently, regardless of whether your input data includes headers or not.
List → List settings
Process List in Parallel: The Process List in parallel checkbox in the Data List command allows you to run the input data or Data Source in multiple sessions simultaneously. By default, this feature is disabled. When you enable it and specify a proper session range, the agent will automatically split the data across the specified sessions.
Disabled:
o The input data will be processed entirely within a single session, regardless of any other settings.
o Even if you specify multiple sessions, the agent will not split the input Data and will process Input data with splitting.
Enabled:
o The agent will divide the input data into multiple parts and process each part in a separate session.
o This can significantly improve performance for large datasets or complex operations.
To effectively use this feature, ensure that you have specified a valid session range that aligns with your system resources and workload requirements.
Count Inputs: The Count Inputs property in the Data List command provides a count of the number of times the command is processed. By default, this property is disabled.
If you enable this property:
o The command will keep track of the number of times it is executed.
o This count can be used to measure agent progress and determine success criteria during data extraction.
If this property is disabled:
o The command will not track the number of times it is executed.
Count Inputs property, when enabled, can be helpful for monitoring the progress of your data processing tasks and ensuring that the agent is running as expected.

Export
Please refer to the “Export” section for more insight.
Files → Upload files
This feature allows users to upload files, making them accessible across all commands and scripts within the agent. Users can add multiple files simultaneously by either dragging and dropping them into the designated area labeled 'Drag files here...' or by selecting the Upload File option.
Drag and Drop Files: Users can add multiple files simultaneously by dragging and dropping them, ensuring they are successfully uploaded, accessible and visible in the user interface.
Upload File: Users can add multiple files simultaneously by clicking the Upload File option, ensuring they are successfully uploaded, accessible and visible in the user interface.
Name: Clicking on the file name link navigates to a detailed view displaying the File Size, Last Modified date, and an Edit option. From this screen, users can also edit the file directly.
Back to Files: This option navigates the user back to the previous page which is “Upload files”.
Edit: This option allows the user to modify/edit the uploaded file by clicking on it.
Save button: This option saves the updated file after the user has made changes.
Cancel: This option discards the changes made by the user, keeping the file in its original state without any modifications.
File Size: This column displays the actual size of the file uploaded by the user.
Added: This column shows the date and time when the file was uploaded by the user.
Delete: This option allows the user to remove the uploaded file.
Edit: This option enables the user to modify the uploaded file by clicking on it. Selecting the Edit option will navigate the user to a detailed view that displays the File Size, Last Modified date, and an additional Edit option. From this screen, users can directly edit the file.
Back to Files: This option navigates the user back to the previous page which is “Upload files”.
Edit: This option allows the user to modify/edit the uploaded file by clicking on it.
Save button: This option saves the updated file after the user has made changes.
Cancel: This option discards the changes made by the user, keeping the file in its original state without any modifications.
Download: This option allows the user to download the uploaded file.