Destinations
Destination refers to the target location or system where the extracted data is sent or saved. The destination for storage output files can vary based on the use case and requirements.
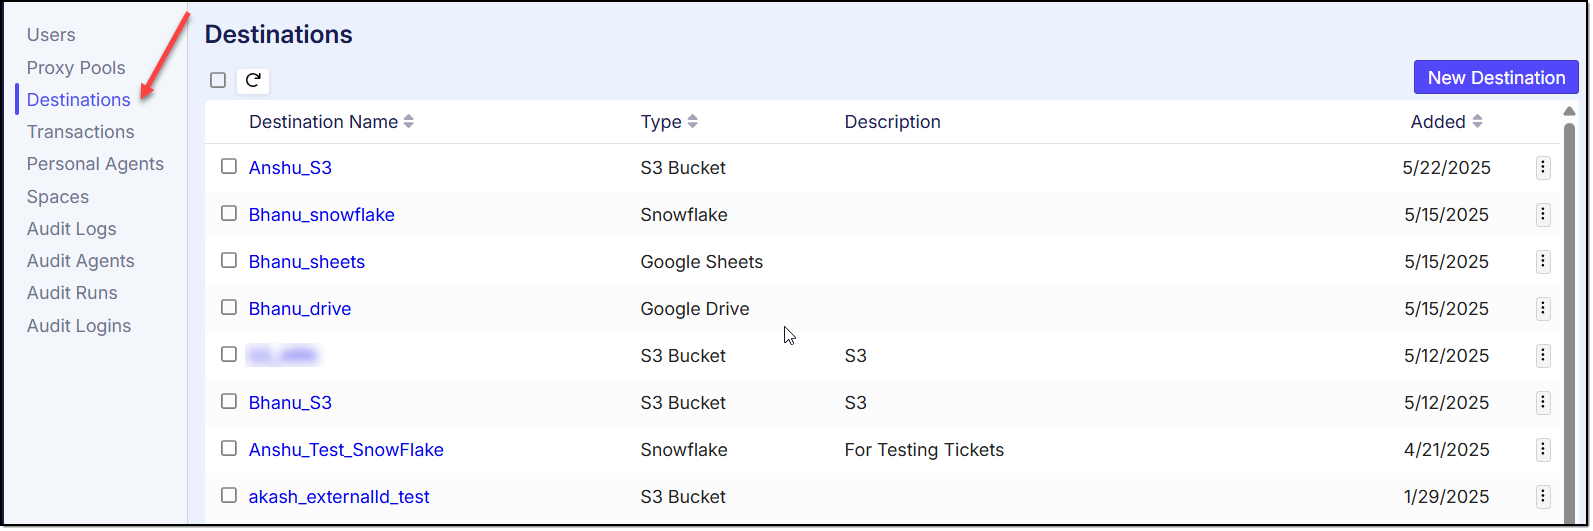
Within the Destinations section, you'll find all the set-up destinations for your connections. This allows you to Create, Edit and Delete the destinations.
Here is a list of all supported export targets:
Azure Storage
Snowflake
FTP
Create Destination:
You can create a new destination by clicking the 'New Destination' tab located at the top right corner.

This will open a new window titled 'Add New Destination.' Here, you can enter the destination name and description in their respective fields and choose the destination type from the drop-down menu.
For example, if you select S3 as the export target destination, you will need to provide the Bucket Name and Folder Path, then click 'Save' to create the destination.

Similarly, users can create a destination type based on their specific requirements and use it within their agent.
For example, when setting up a Google Sheets export as the destination, users will first need to authorize their Google account. This ensures that the system has the necessary permissions to access and modify the Google Sheet. Once authorization is complete, users must enter the link to the destination Google Sheet where the data will be exported. After filling in the required information, click 'Save' to create the Google Sheets destination. This will allow the agent to export data directly to the specified Google Sheet.

Users can follow this process to configure different destination types depending on their data export needs, ensuring seamless integration and data flow.
Destination Editing
There are two methods to edit the destination:
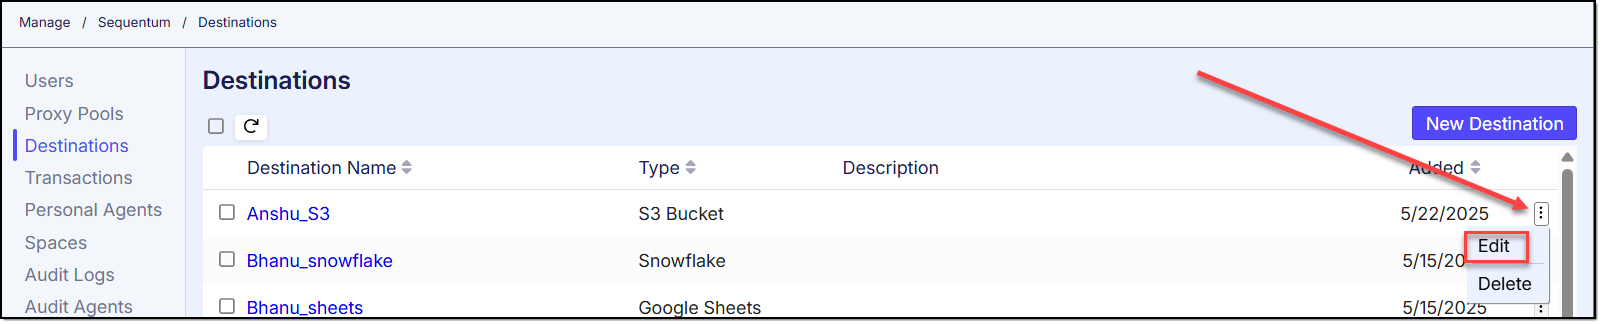
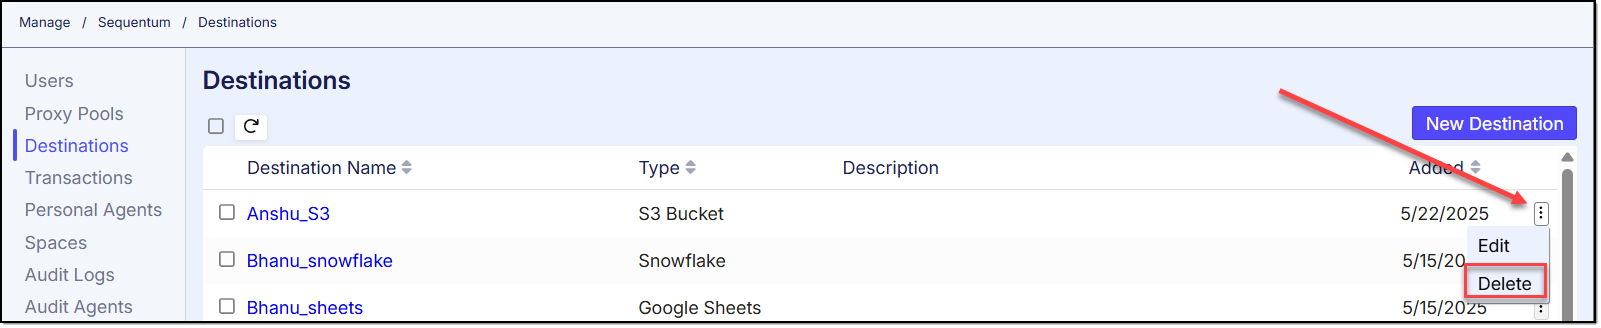
Method 1} By going through the destination context menu by clicking on triple dots available in right side and then selecting the “Edit” option:
Method 2} By clicking on the name of the Destination name

Both methods will take you to a new screen where you will see the details of the destination already filled in:
You can change the Destination details by updating the text boxes and clicking the button “Save”.

Destination Deletion:
There are also two methods to delete the destination similar to the EDIT Destination:
Method 1} By going through the Destination context menu by clicking on triple dots available in right side and then selecting the “Delete” option:
Method 2} By selecting the specific Destination and clicking the “Delete” icon on top:

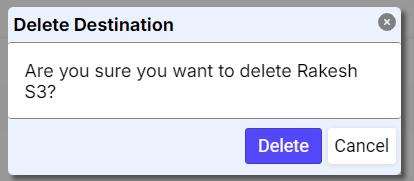
A confirmation popup will appear and you can proceed by clicking 'Delete' to confirm your decision to delete the selected Destination .
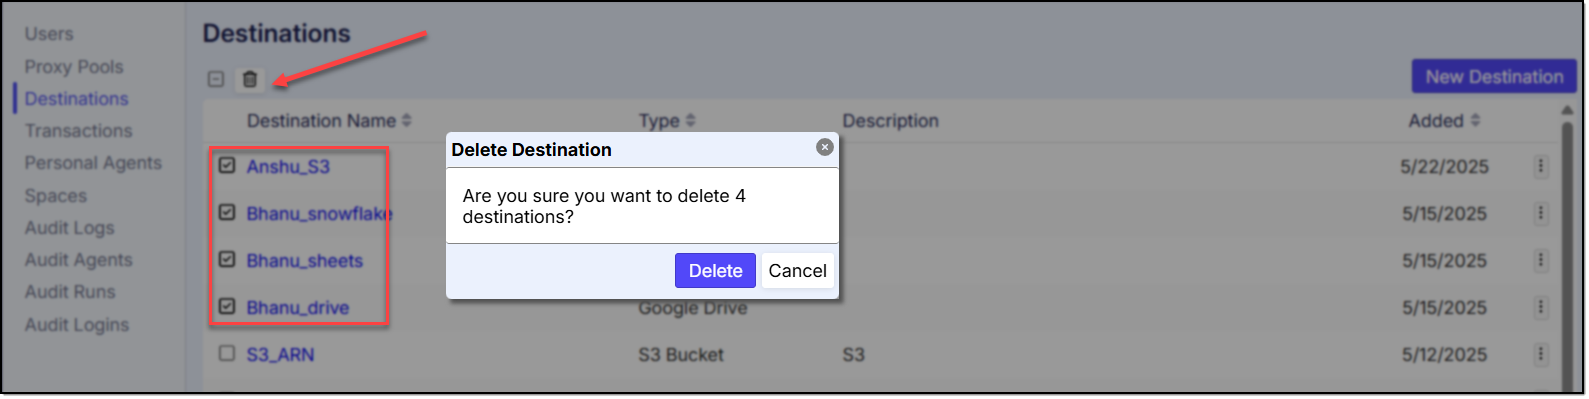
Multiple Destinations Deletion:
To delete multiple Destinations , you need to select the specific Destinations and then click the “Delete” icon on top. You will receive a popup to confirm your decision, you can proceed by clicking “Delete”: