Action Command
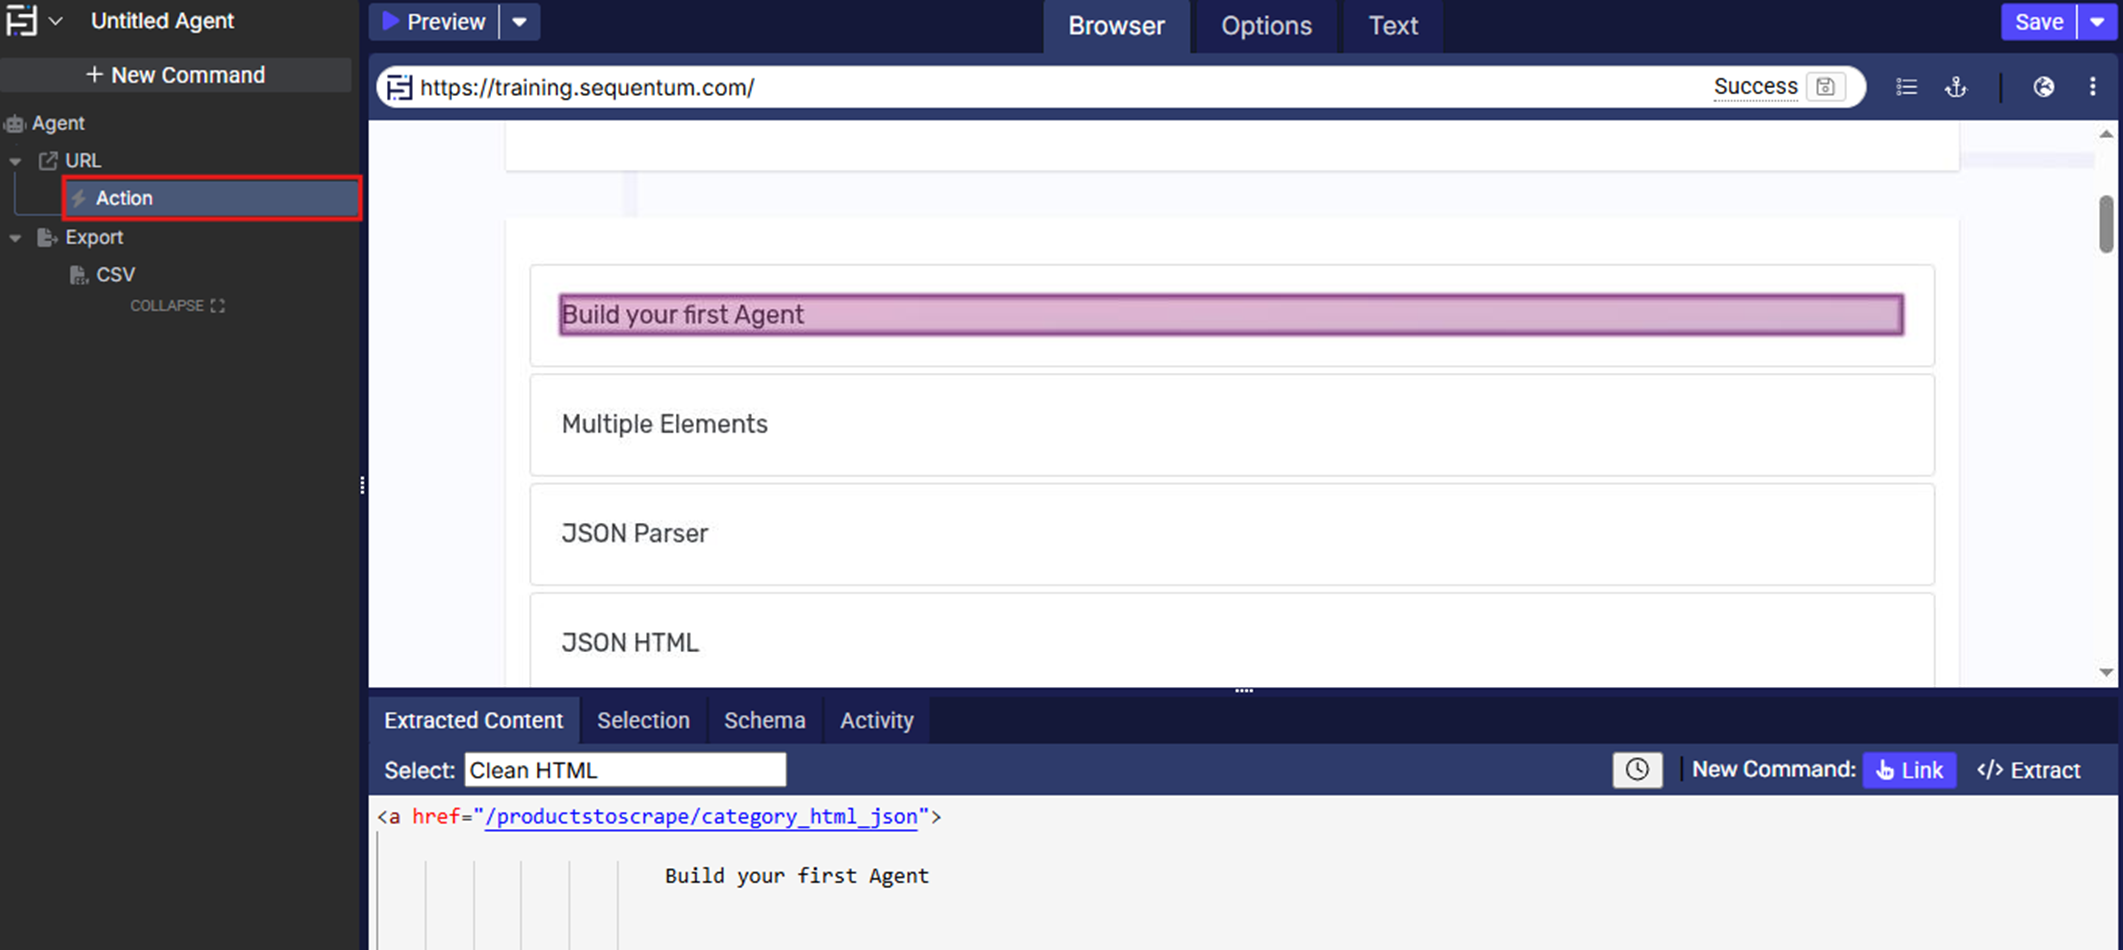
The Action command performs actions such as mouse clicks on web elements like links, buttons, and menus. It can be applied to any type of web element, enabling interactions within a web page.
The screenshot below demonstrates a simple example where the Action command is used.
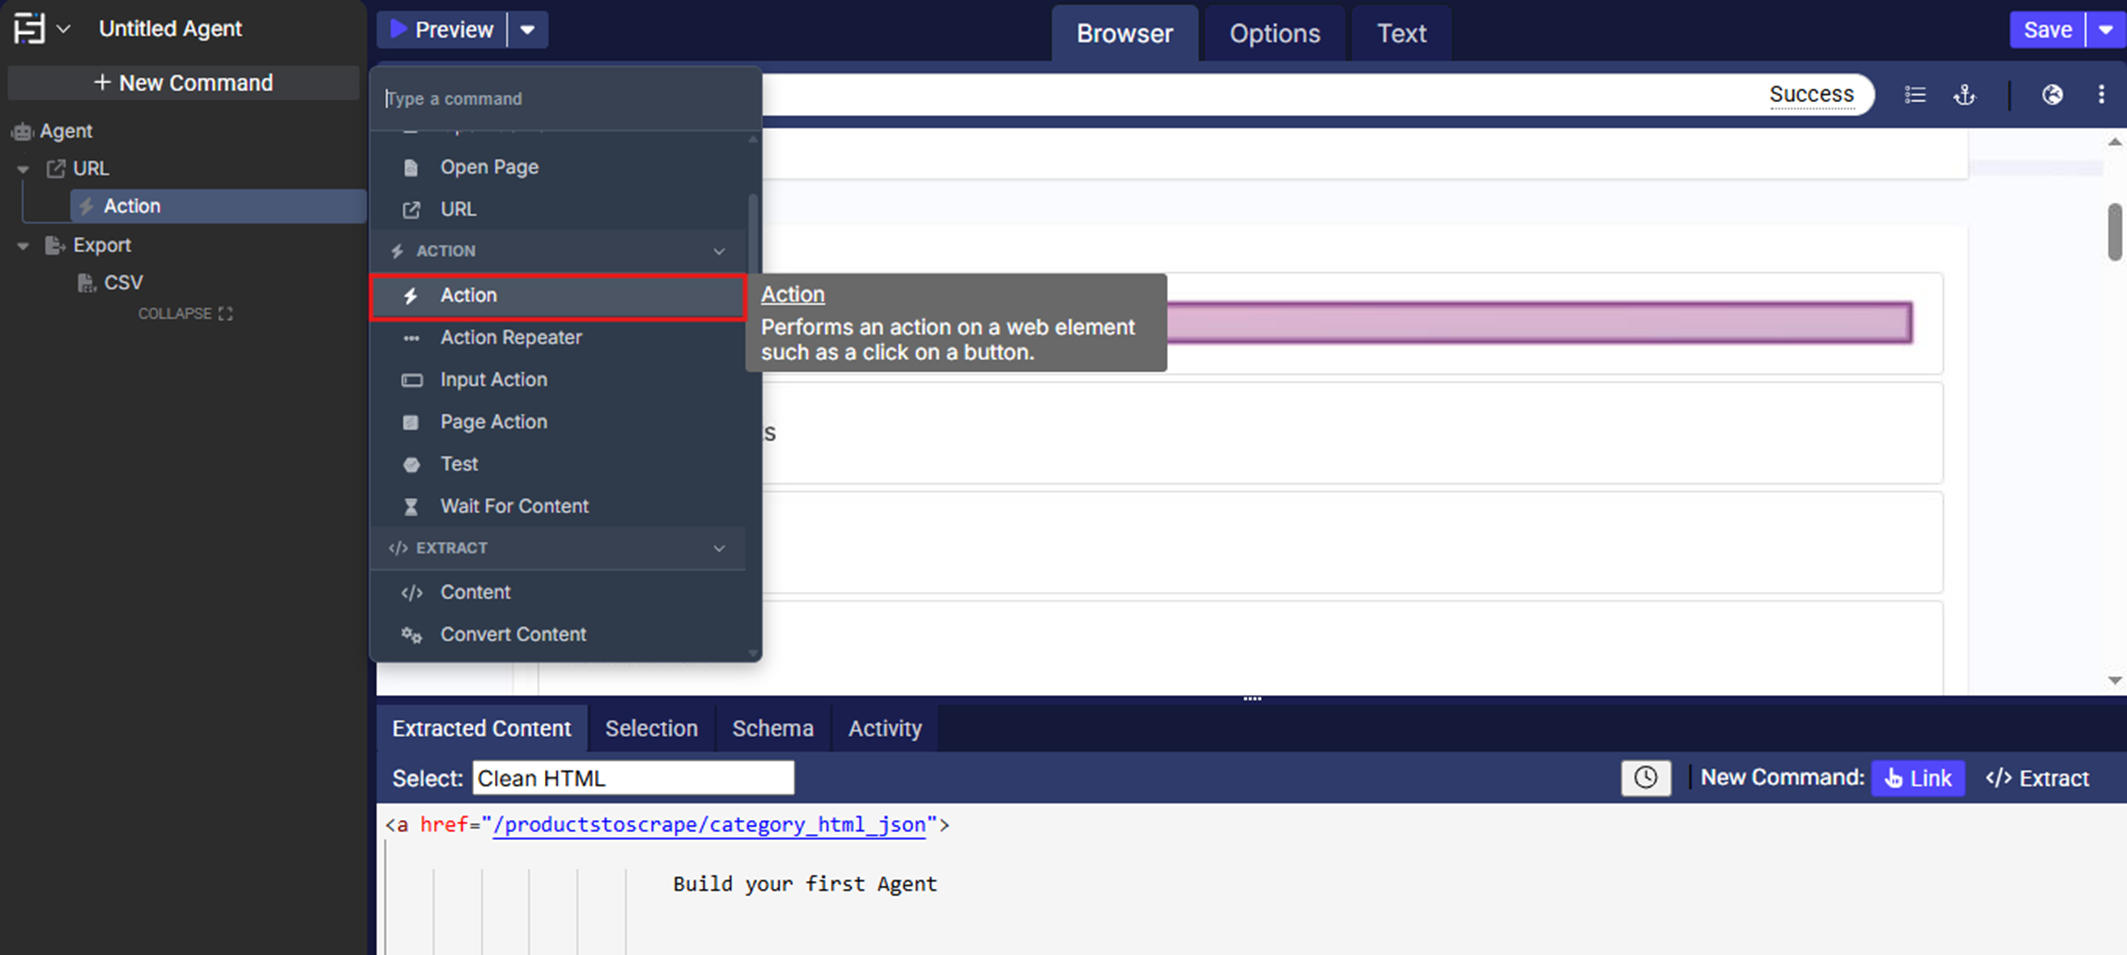
The Action command is located under the Action section in the New Command palette (refer the below snapshot)
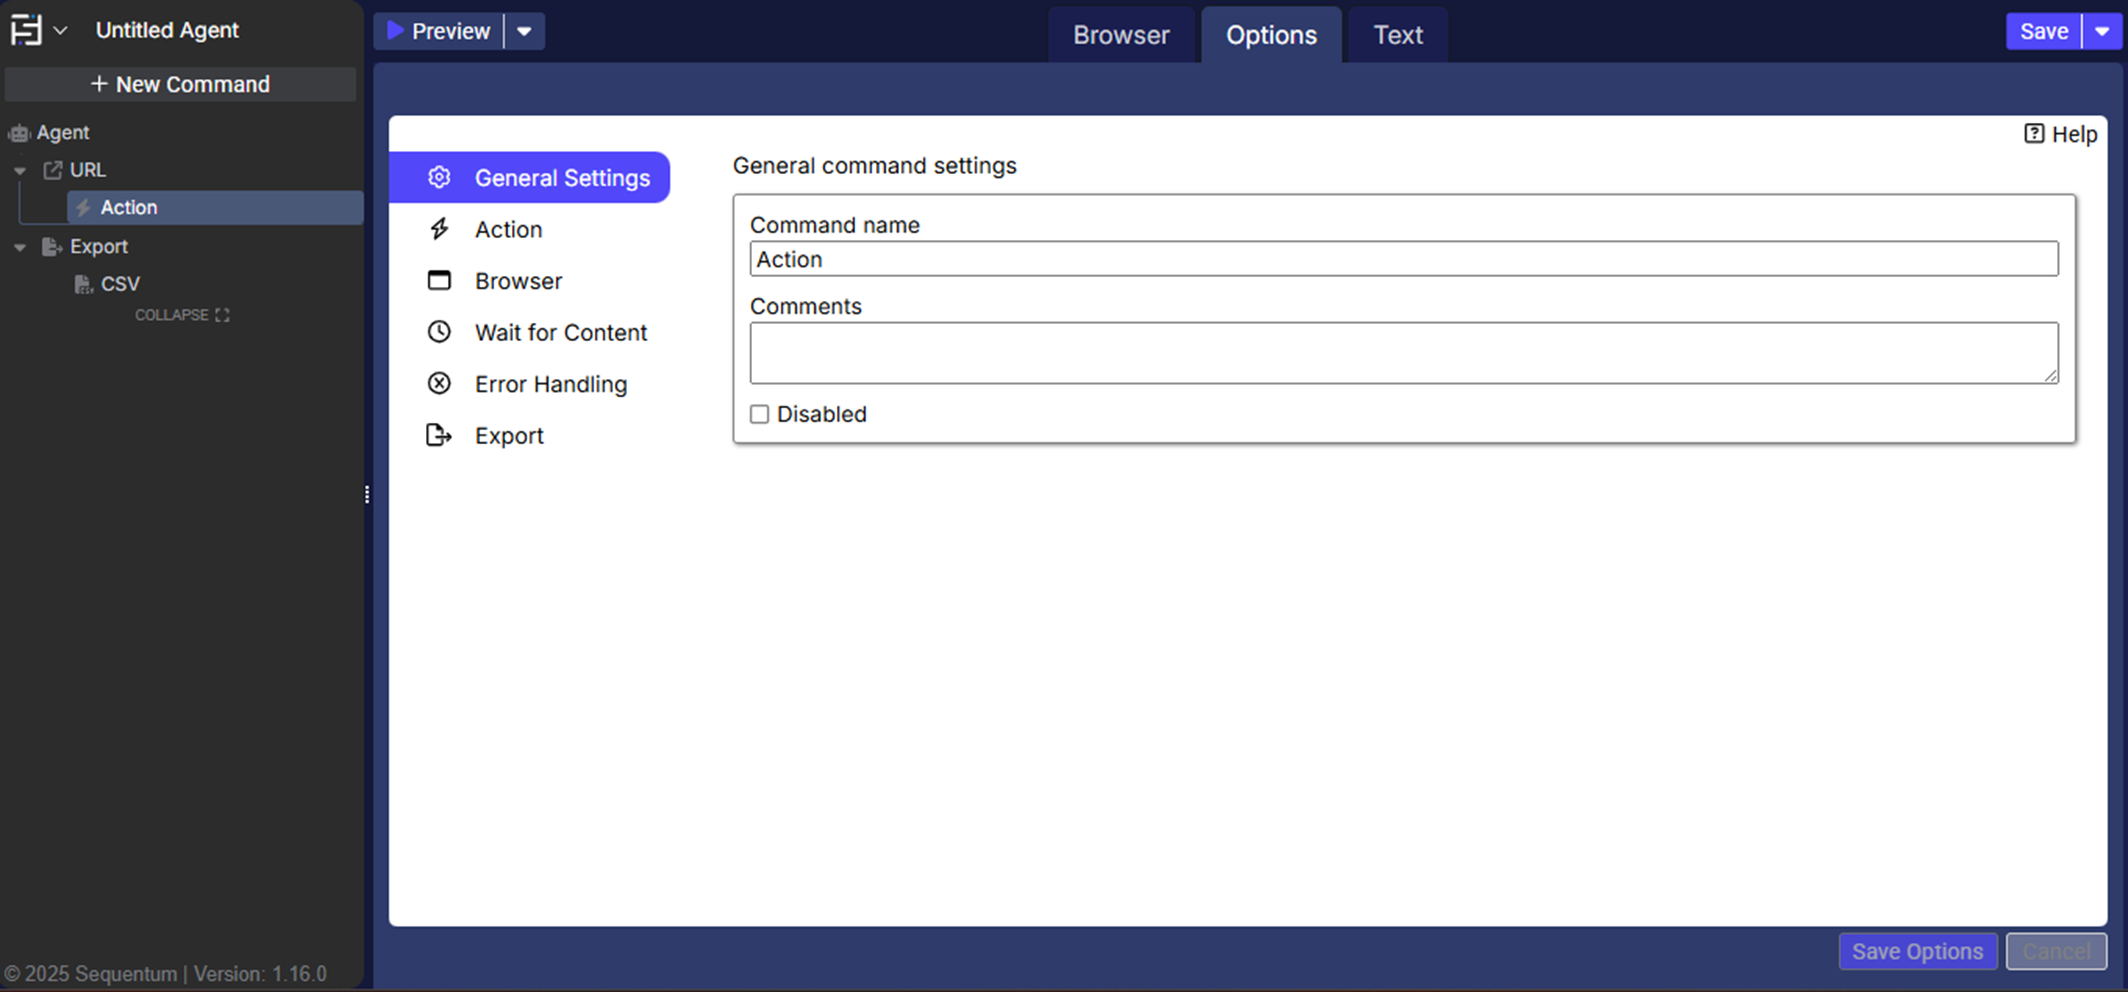
In order to make the optimum use of the ‘Action’ command, we can configure the options as shown in the below screenshot, as per the user requirement.
Command Configuration
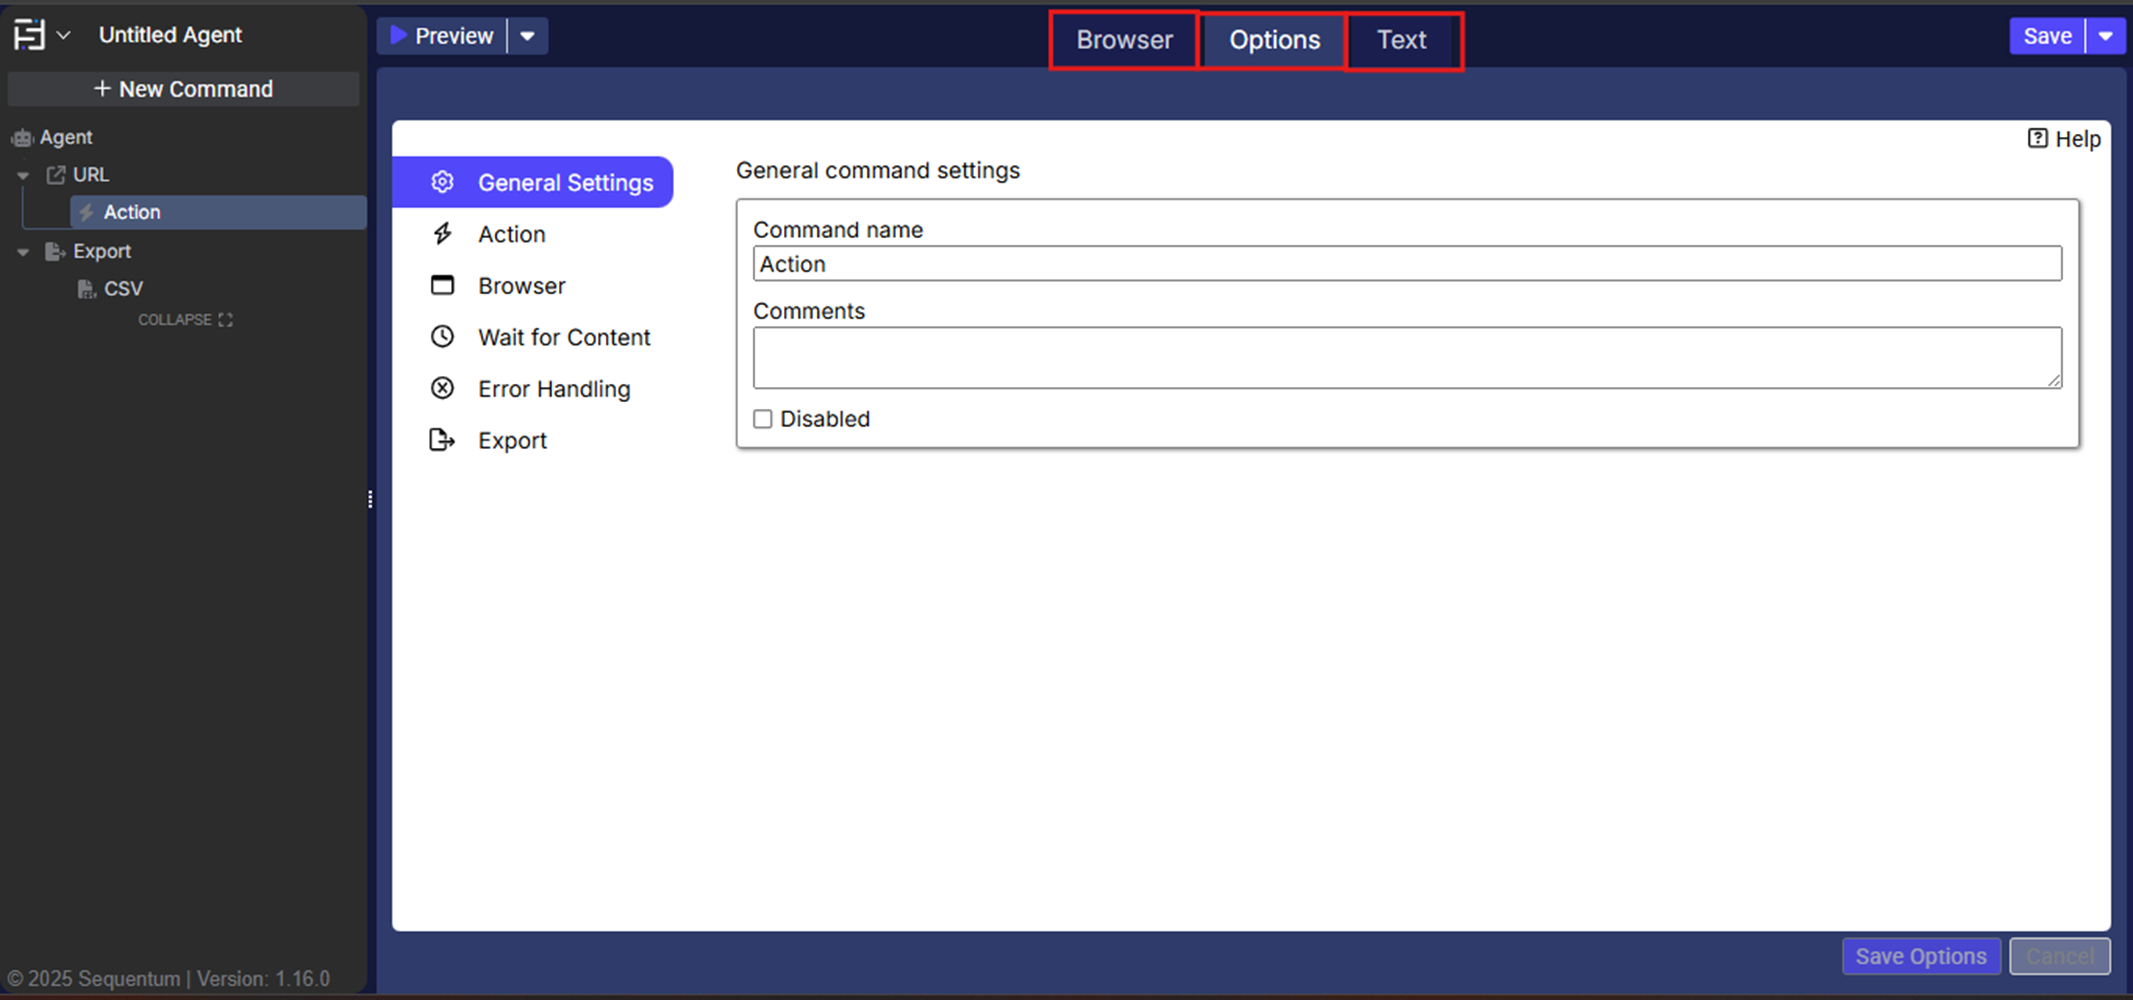
The configuration screen for the Action command has three tabs viz. Browser, Options, and Text. Use the Browser tab to select command XPath and apply selection transformations. Use the Options tab to set the command name and other command properties. Use the Text tab to navigate to the text of the agent where the command part is present.
Command Properties
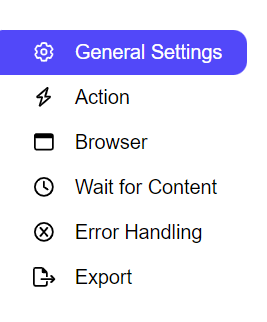
On the Options tab of the command, we have six options:
General Settings
Action
Browser
Wait for Content
Error Handling
Export
General Settings → General Command Settings
The ‘General command settings’ section is designed for user customization to give the command a desired name, comment to describe in brief about the usability or requirement for the command and the disabled option to not execute this command at all.
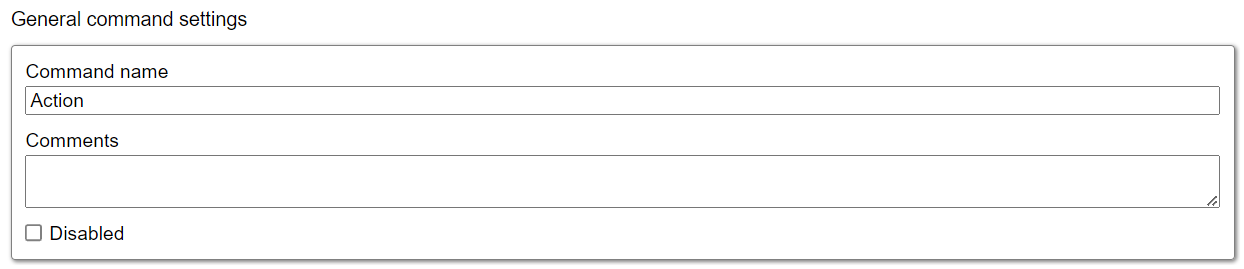
Command name: This textbox allows the user to change the name of the command according to their requirements. By default, the command is named Action.
Comments: This textbox is used to add comments for this command, helping other users understand its purpose and functionality, similar to the description. By default, this textbox is blank and does not contain any text.
Disabled: This option is used to disable the command. By default, it is unchecked, indicating that the command is enabled.
Action → Selected action element
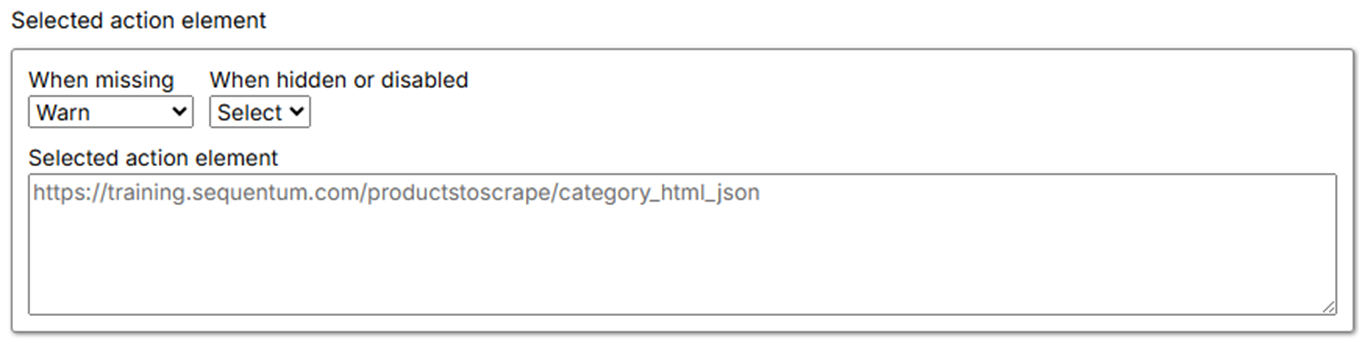
When missing: This option lets the user select one of four actions from a dropdown menu to specify what should happen if the selected element is missing. The default value is set to "Warn".
Fail: If the element is missing, An error message is generated in the logs and the agent fails.
Warn: If the element is missing, A warning message is generated in the logs and the agent continues.
Ignore: If the element is missing, the agent skips child commands and moves to the next command.
Passthrough: If the element is missing, the agent ignores it and continues executing child commands.
When hidden or disabled: This option lets the user select one action from a dropdown menu to specify what should happen if the selected element is hidden or disabled. The default value is set to "Select".
Select : If the element is hidden or disabled the element will be available for selection.
Ignore : If the element is hidden or disabled the command will be ignored.
Selected action element : In this section, the user can view the selected element in HTML format, displayed within the box. Please note that this HTML content is non-modifiable, meaning the user cannot make changes to it. This feature is particularly intended to allow users to see the selected element.
Action → Action settings
These settings allow you to modify the default action, specify a custom action, enable or disable the action script, and indicate if the action interrupts/breaks an HTML area.
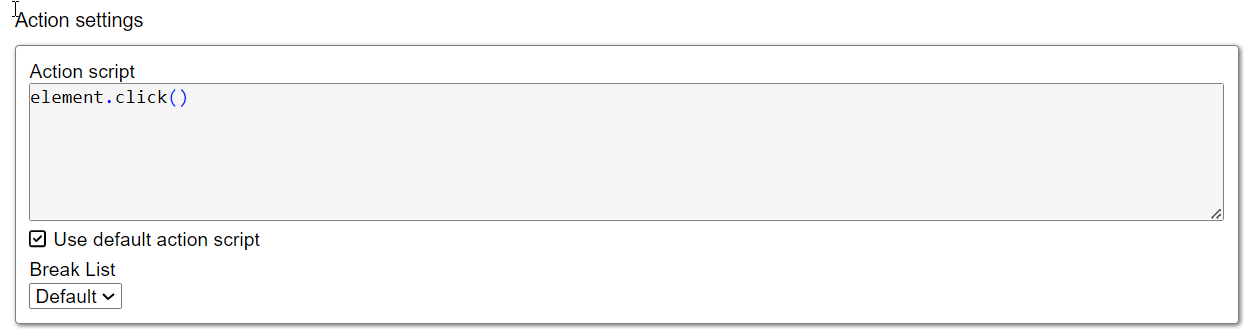
Action script: This section displays the action script associated with the command, which is used to trigger specific actions. By default, this is set to element.click(), but users can modify it to suit their needs by selecting a different action script. When the default action script is enabled, you can observe the actions the agent performs, though editing is restricted. Once disabled, you can customize the actions using most standard HTML element interaction functions, with each command written on a separate line.
Use default action script: This checkbox/option allows you to enable or disable the default action script for the command. When checked, the default action script is used. Unchecking it gives you the flexibility to specify custom events manually for the command. By default, it is checked.
Break List: This setting specifies whether the action disrupts an HTML area. Actions that load a new page automatically break HTML areas. By default, this is set to "Default". There are three options available:
Default: Uses the default setting for breaking HTML areas.
Yes: Enables the Break List option.
No: Disables the Break List option.
Browser
Please refer to the “Browser” section for more insight.
Wait for content → Wait For Content settings :
Wait for Content command can be used to wait for web content to appear on a web page, or to wait for a specific URL to complete loading. When a Wait for Content command is configured to wait for web content, a web element must be selected in the web browser, and the Wait for Content command's parent action command will wait until that web element is available on the web page.
These Wait for Content settings are only effective with an active browser wait selection, meaning they will only function with the current active web browser. The UI of the Wait for Content section also includes a note at the top indicating this requirement, as shown in the screenshot below.
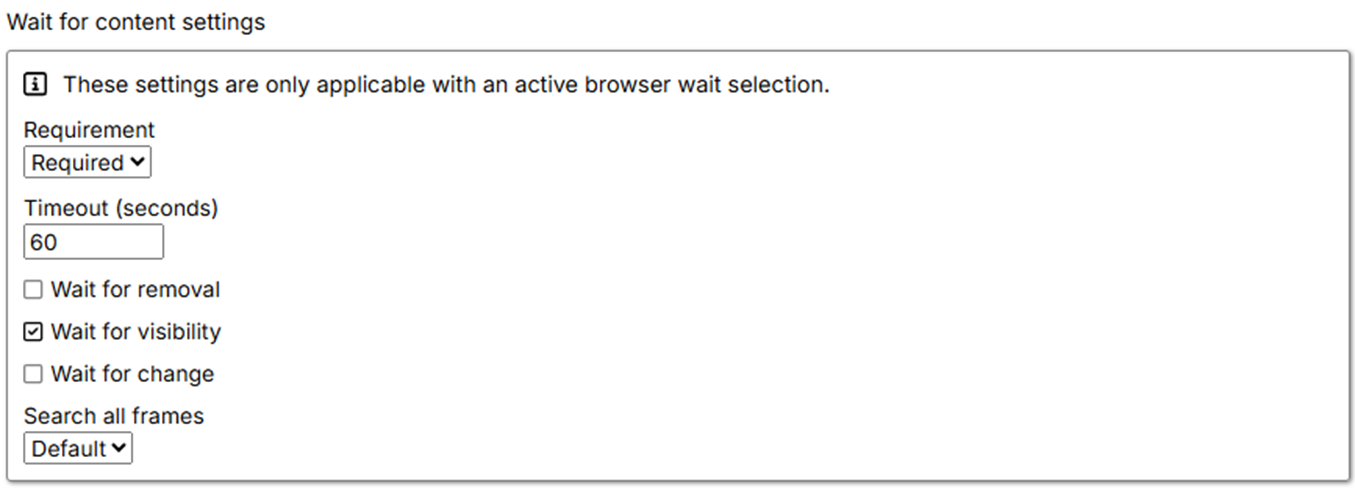
Requirement: This option allows the user to specify their preference for how the command should handle waiting for content to appear or for a specific URL to fully load. From the dropdown menu, you can choose between Required, Optional or No Wait options. The default value is set to Required.
Required: The action command will focus on waiting for content to appear or for a specific URL to fully load. If the content doesn’t appear within the specified Wait for Content Timeout, the command will fail.
Optional: The action command is designed to wait for content to appear or for a specific URL to fully load. The parent action command will not fail if the content doesn’t appear within the specified Wait for Content Timeout.
No Wait: The parent action command is configured to complete as soon as the content appears, without waiting for it to fully load.
Timeout: The default number of seconds to wait between action to complete and page is parsed. The default value is 60 seconds. The user can update it as per his requirements.
Wait for removal: When enabled, this checkbox ensures the command waits until the selected element is removed from the page before continuing. It waits for content to be removed rather than just being present. By default, this option is disabled.
Wait for visibility: This checkbox ensures the command waits until the selected element is visible on the page before moving on to the next step. By default, this option is enabled.
Wait for change: When enabled, this checkbox waits until any change occurs on the page before proceeding to the next step. This option is enabled by default.
Search All Frames: This dropdown menu option specifies whether to wait for all frames on the page to fully load, ensuring that all content across multiple frames is loaded before continuing.
Default: Inherits the setting from the parent command.
Yes: Checks the URL of all frames and monitors all web requests that load content asynchronously.
No: It will check only the selected frames.
Error Handling
Please refer to the “Error Handling” section for more insight.
Export
Please refer to the “Export” section for more insight.