Input Action Command
Input Action Command populates a Form field such as an input box or a select box, and optionally executes an action on the form field web element. One can use this command to set input fields in a web form.
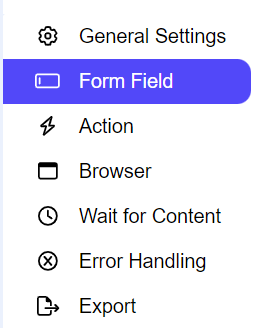
The Input Action command is located under the Action section in the command palette (refer below snapshot)

In order to make the optimum use of the Input Action command, we can configure the options as can be observed in the snapshot, as per the user requirement.

Command Configuration
The configuration screen for the Input Action command has three tabs viz. Browser, Options, and Text. Use the Browser tab to select command XPath and apply selection transformations. Use the ‘Options’ tab to set the command name and other command properties. Use the Text tab to navigate to the text of the agent where the command part is present.

Command Properties
On the Options tab of the command, we have seven options:
General Settings
Form Field
Action
Browser
Wait for Content
Error Handling
Export
General Settings → General Command Settings
The ‘General command settings’ section is designed for user customization to give the command a desired name, comment to describe in brief about the usability or requirement for the command and the disabled option to not execute this command at all.
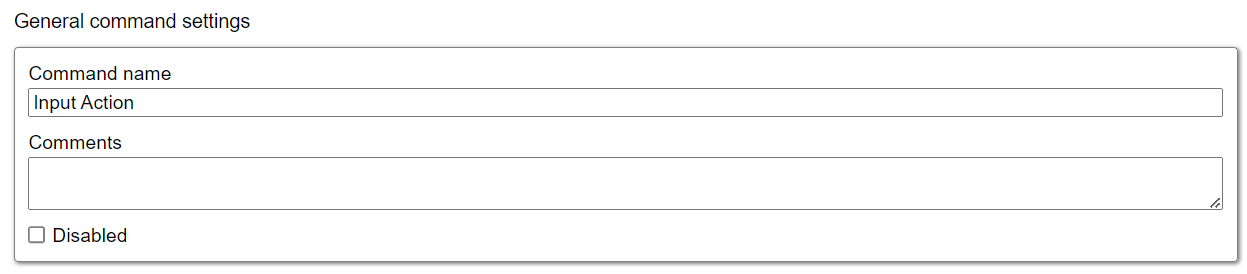
Command name: This property specifies the name of the command.
Comments: Provides a field for entering metadata or a brief description regarding the command. These annotations are used internally to provide context for developers or team members. Comments are not part of the exported data and are only used for documentation purposes within the configuration.
Disabled: This checkbox allows the user to disable the command. When checked, the command is ignored during execution. By default, it is unchecked.
Form Field → Form field input
The Form input section is designed for the user to select the input source from where the desired content is to be loaded.

Input: The Input field is a drop down used to define the source of content for an HTML form. It offers multiple options for how the data will be inputted with "Static Value" being the default selection.
Data List - This option allows users to pass the input from a data list command. The data list acts as a source of information, and the agent can pull data from this list to be used within the form fields. It is helpful for situations where structured or repetitive data needs to be applied dynamically during the extraction or form-filling process.
Command - This option enables users to select input from a previous command in the agent. If a command generated content previously in the agent’s workflow, this content then can be used as an input for the form.
Agent Parameter - Users can load input directly from an agent parameter, which is a dynamic value defined at the start of the agent's execution.
Action Result - This option is useful when handling AJAX responses or content fetched from a parent URL or link command. The agent can parse this dynamic content and inject it into the form field. It is particularly beneficial when dealing with web pages that load content dynamically through background AJAX calls, and the input content needs to be extracted and reused.
Static Value -The static value option lets users manually enter content into the form field. This is ideal in cases where the input is constant or does not need to be dynamically generated or fetched from another command or source. Users can directly type in the values they wish to input.
Script - The script option allows users to use scripting methods to dynamically determine and input the content into the form fields. Based on conditions or logic, the script can populate the input fields, making this a flexible option for complex data insertion scenarios.
Encrypt: The Encrypt checkbox provides the option to encrypt the content entered into the form fields. If selected, the content will be secured using encryption, which is useful when sensitive data such as passwords or personal information is being passed. By default, this checkbox is unchecked, meaning that the input content will be unencrypted unless explicitly chosen by the user.
Action → Selected action element

When missing: This option lets the user select one of four actions from a dropdown menu to specify what should happen if the selected element is missing. The default value is set to "Warn".
Fail: If the element is missing, An error message is generated in the logs and the agent fails.
Warn: If the element is missing, A warning message is generated in the logs and the agent continues.
Ignore: If the element is missing, the agent skips child commands and moves to the next command.
Passthrough: If the element is missing, the agent ignores it and continues executing child commands.
When hidden or disabled: This setting controls how the agent handles element selection based on their visibility or enabled/disabled state.
Select: The agent will select both visible and disabled elements that match the XPath.
Ignore: The agent will only select elements that are present and enabled (i.e., the XPath matches and the element is interactable).
Selected action element: In this section, the user can view the selected action element in HTML format, displayed within the box. Please note that this HTML content is non-modifiable, meaning the user cannot make changes to it. This feature is particularly intended to allow users to see the selected element.
Action → Action settings
The Action section determines the JavaScript actions to be performed while using this command. The users can also customize the actions after unchecking the ‘Use default action script’.
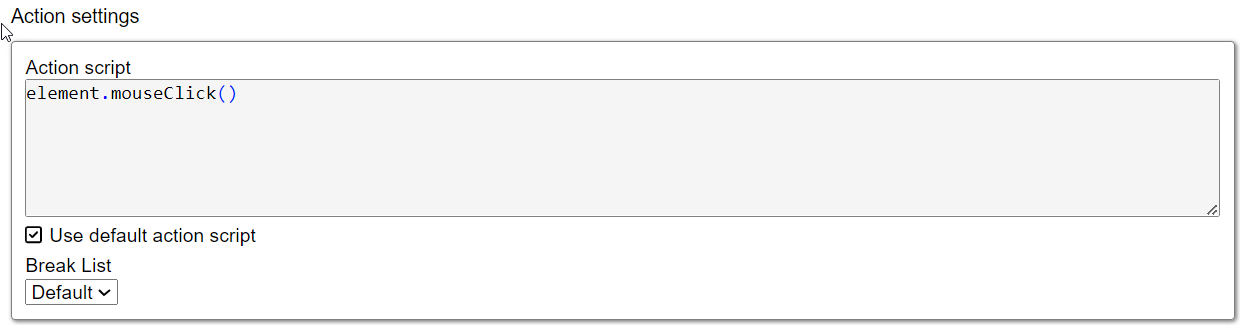
Action Script: This pane defines the JavaScript actions that will be performed. Based on the selection in the form field, the actions are automatically generated by the command. A user can also manually use JavaScript actions post unchecking the ‘Use default action script’
Use default action Script: This check box determines if the automatically generated action is appropriate for the command or not. If a user wants to input different actions, then the user must uncheck the box and then input the actions in the ‘Action script’ manually.
Break List: By default, it is set to "Default," meaning Sequentum Cloud will decide the most appropriate behavior. Users can manually set it to "Yes" or "No" depending on how the action affects page loads and the agent behavior.
Browser
Please refer to the “Browser” section for more insight.
Wait for Content → Wait for content settings
Wait for Content command can be used to wait for web content to appear on a web page, or to wait for a specific URL to complete loading. When a Wait for Content command is configured to wait for web content, a web element must be selected in the web browser, and the Wait for Content command's parent action command will wait until that web element is available on the web page.
These Wait for Content settings are only effective with an active browser wait selection, meaning they will only function with the current active web browser. The UI of the Wait for Content section also includes a note at the top indicating this requirement, as shown in the screenshot below.
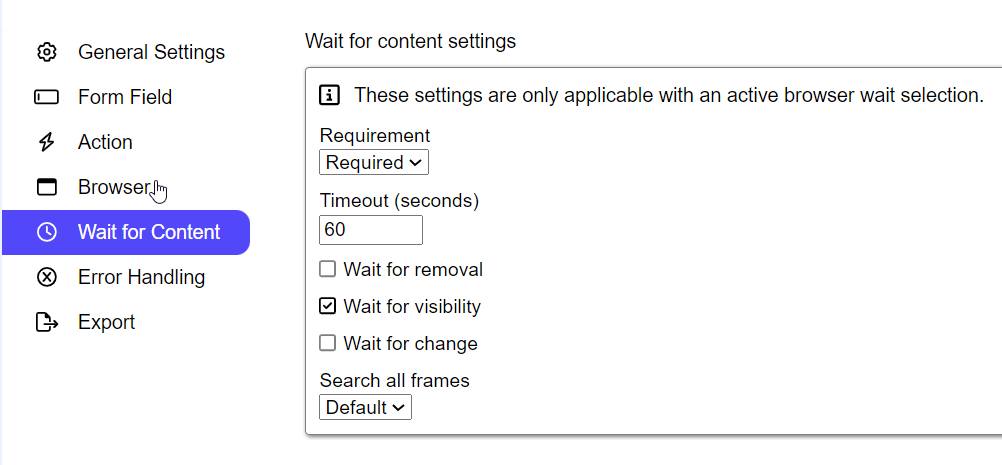
Requirement: This option allows the user to specify their preference for how the command should handle waiting for content to appear or for a specific URL to fully load. From the dropdown menu, you can choose between Required, Optional or No Wait options. The default value is set to Required.
Required: The action command will focus on waiting for content to appear or for a specific URL to fully load. If the content doesn’t appear within the specified Wait for Content Timeout, the command will fail.
Optional: The action command is designed to wait for content to appear or for a specific URL to fully load. The parent action command will not fail if the content doesn’t appear within the specified Wait for Content Timeout.
No Wait: The parent action command is configured to complete as soon as the content appears, without waiting for it to fully load.
Timeout: The default number of seconds to wait between action to complete and page is parsed. The default value is 60 seconds. The user can update it as per his requirements.
Wait for removal: When enabled, this checkbox ensures the command waits until the selected element is removed from the page before continuing. It waits for content to be removed rather than just being present. By default, this option is disabled.
Wait for visibility: This checkbox ensures the command waits until the selected element is visible on the page before moving on to the next step. By default, this option is enabled.
Wait for change: When enabled, this checkbox waits until any change occurs on the page before proceeding to the next step. This option is enabled by default.
Search All Frames: This dropdown menu option specifies whether to wait for all frames on the page to fully load, ensuring that all content across multiple frames is loaded before continuing.
Default: Inherits the setting from the parent command.
Yes: Checks the URL of all frames and monitors all web requests that load content asynchronously.
No: It will check only the selected frames.
Error Handling
Please refer to the “Error Handling” section for more insight.
Export
Please refer to the “Export” section for more insight.