Skyfire Checkout Agent
In this article, we will learn how to integrate a Skyfire token into a Sequentum Cloud agent and develop a checkout agent.
Learn more about Skyfire here: Skyfire Integration
Checkout Agent:
Step 1: Login to the Skyfire dashboard with valid credentials to generate your Buyer API Key.
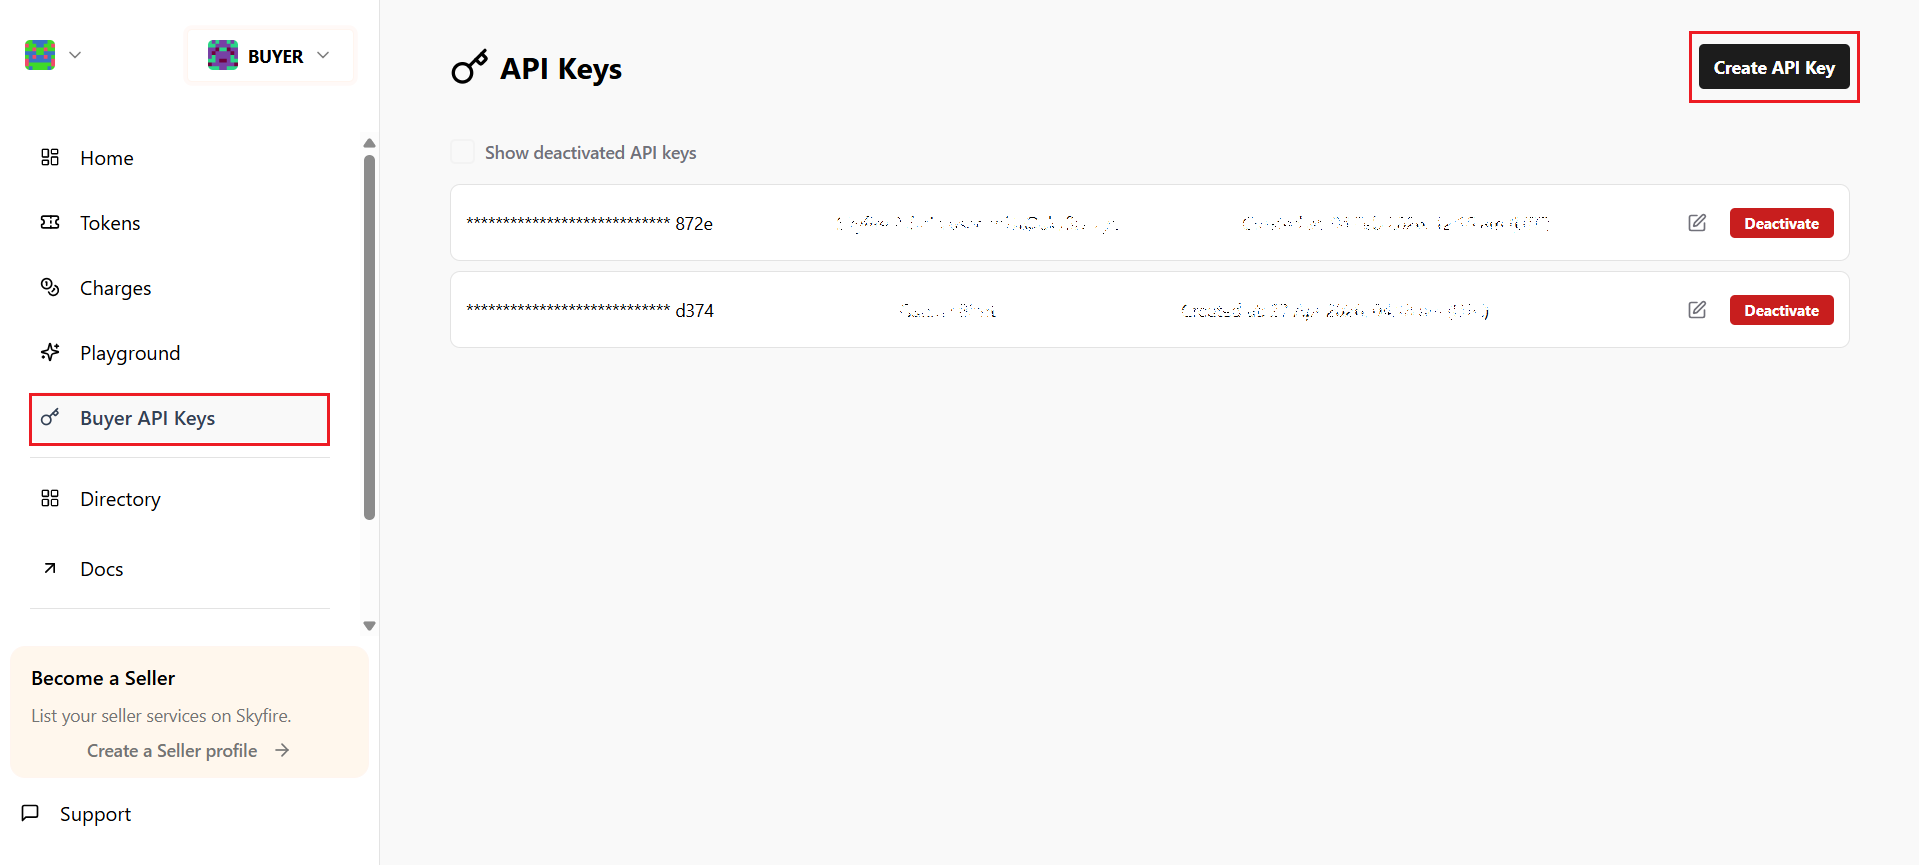
Skyfire API page
Step 2: Login to Sequentum Cloud dashboard with valid credentials. In Sequentum Cloud every transaction is logged with a complete, defensible audit trail, with integrated federated identities via Okta, Google, and Microsoft.

Sequentum Cloud login page
Step 3 : In Sequentum Cloud, open the Skyfire configuration page under Organisation settings and save the API key as created in step 1.
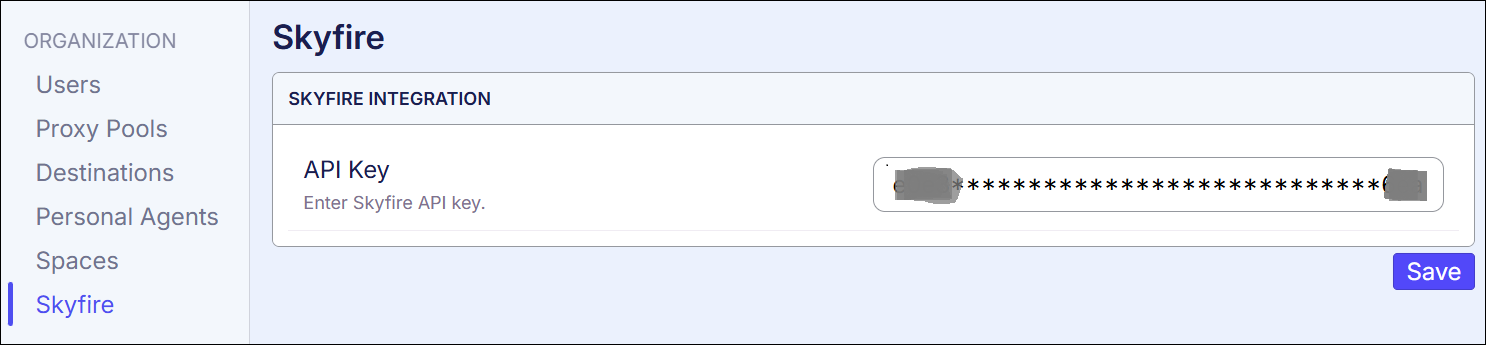
Skyfire API key
Step 4: Click on the New Agent button and choose the blank Agent option.
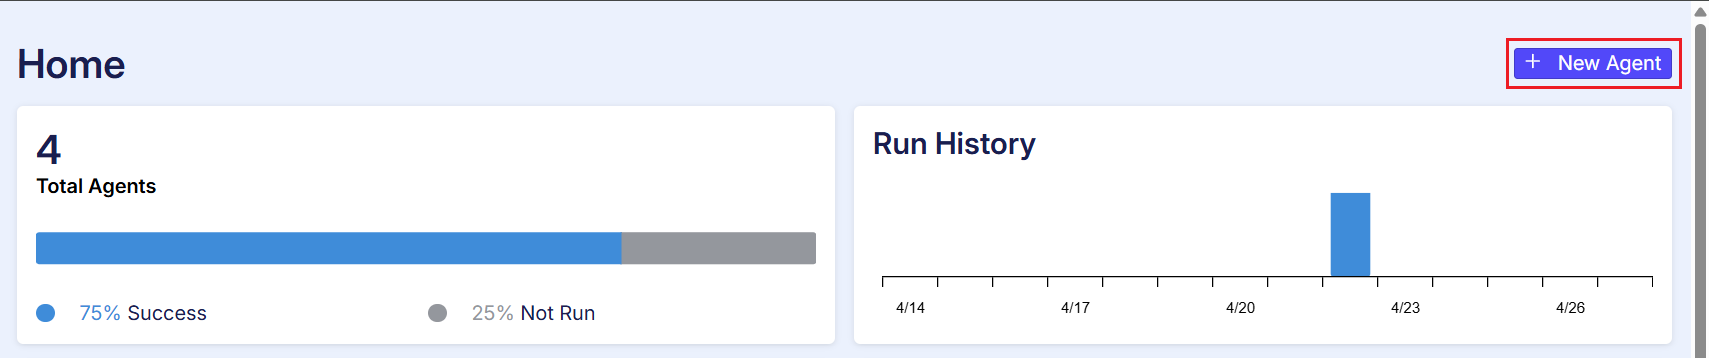
New agent button
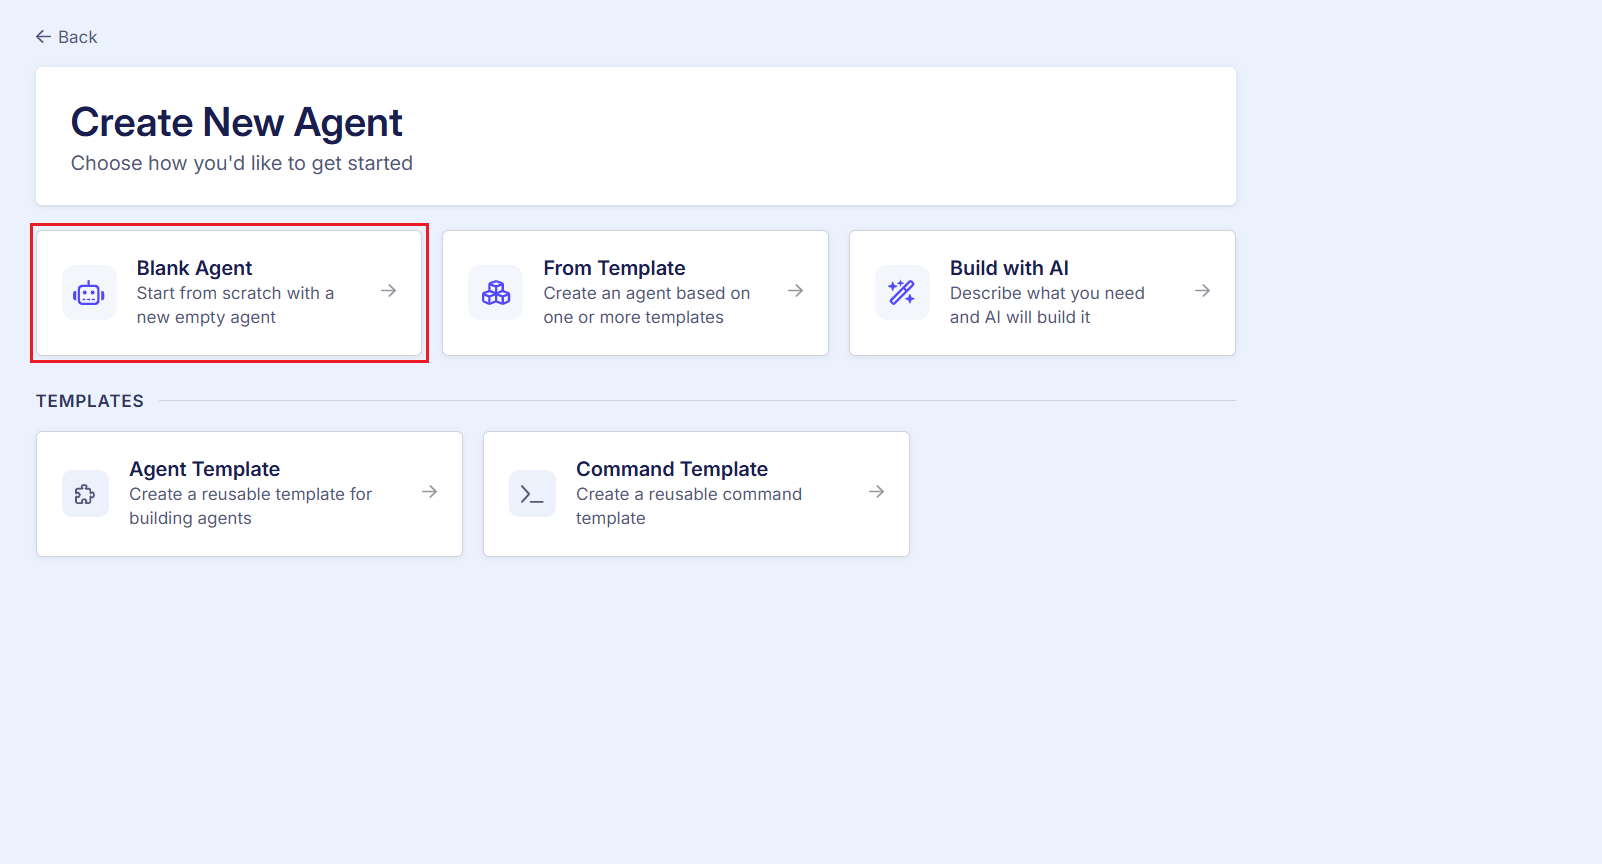
Create New agent page
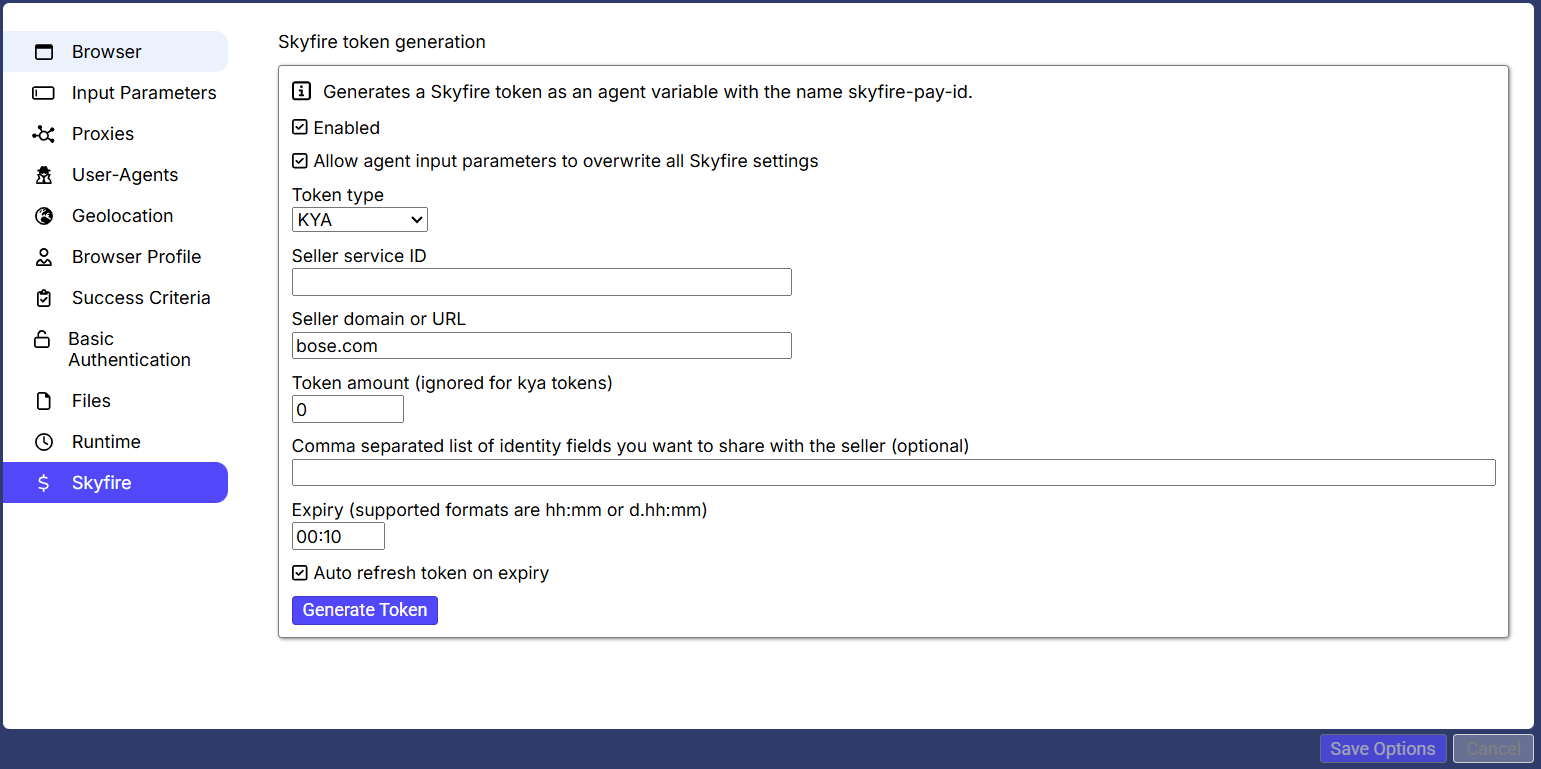
Step 5: In the Agent command, navigate to the Skyfire tab and check the ‘Enabled’ checkbox.
Step 6: Select the checkbox “Allow agent input parameters to overwrite all Skyfire settings”
Step 7: Choose a valid Seller domain or URL example → http://bose.com
Step 8: Check the auto refresh token on expiry so that the token refresh happens automatically.
Step 9: Add necessary input parameters such as email, firstName, lastName, phoneNumber, shippingAddress, cardDetails etc.
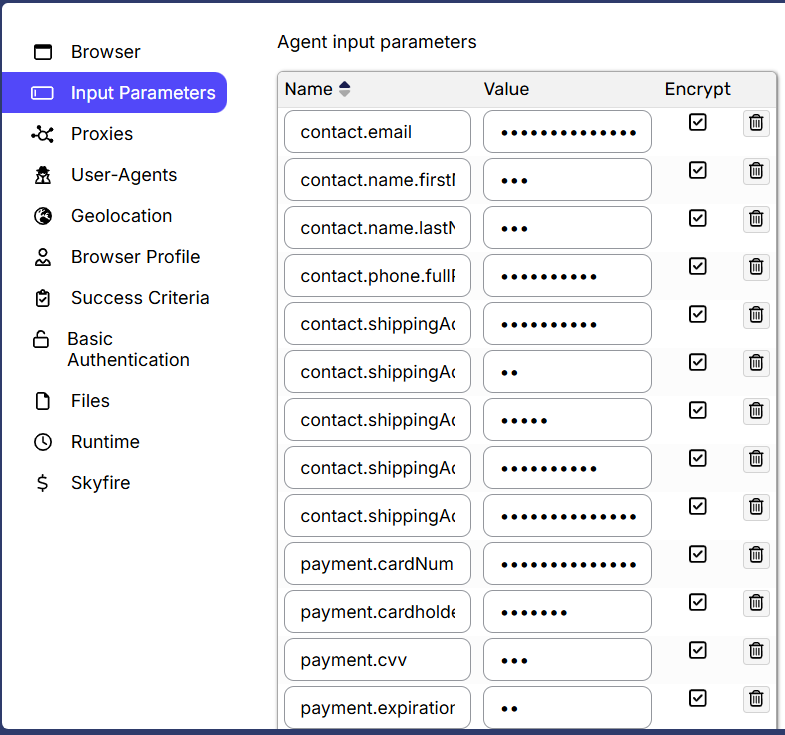
Input parameter page
Step 10: Add URL command to load a product page: https://www.bose.com/p/headphones/quietcomfort-acoustic-noise-cancelling-headphones/QC-HEADPHONEARN.html?dwvar_QC-HEADPHONEARN_color=PETAL%20PINK&quantity=1
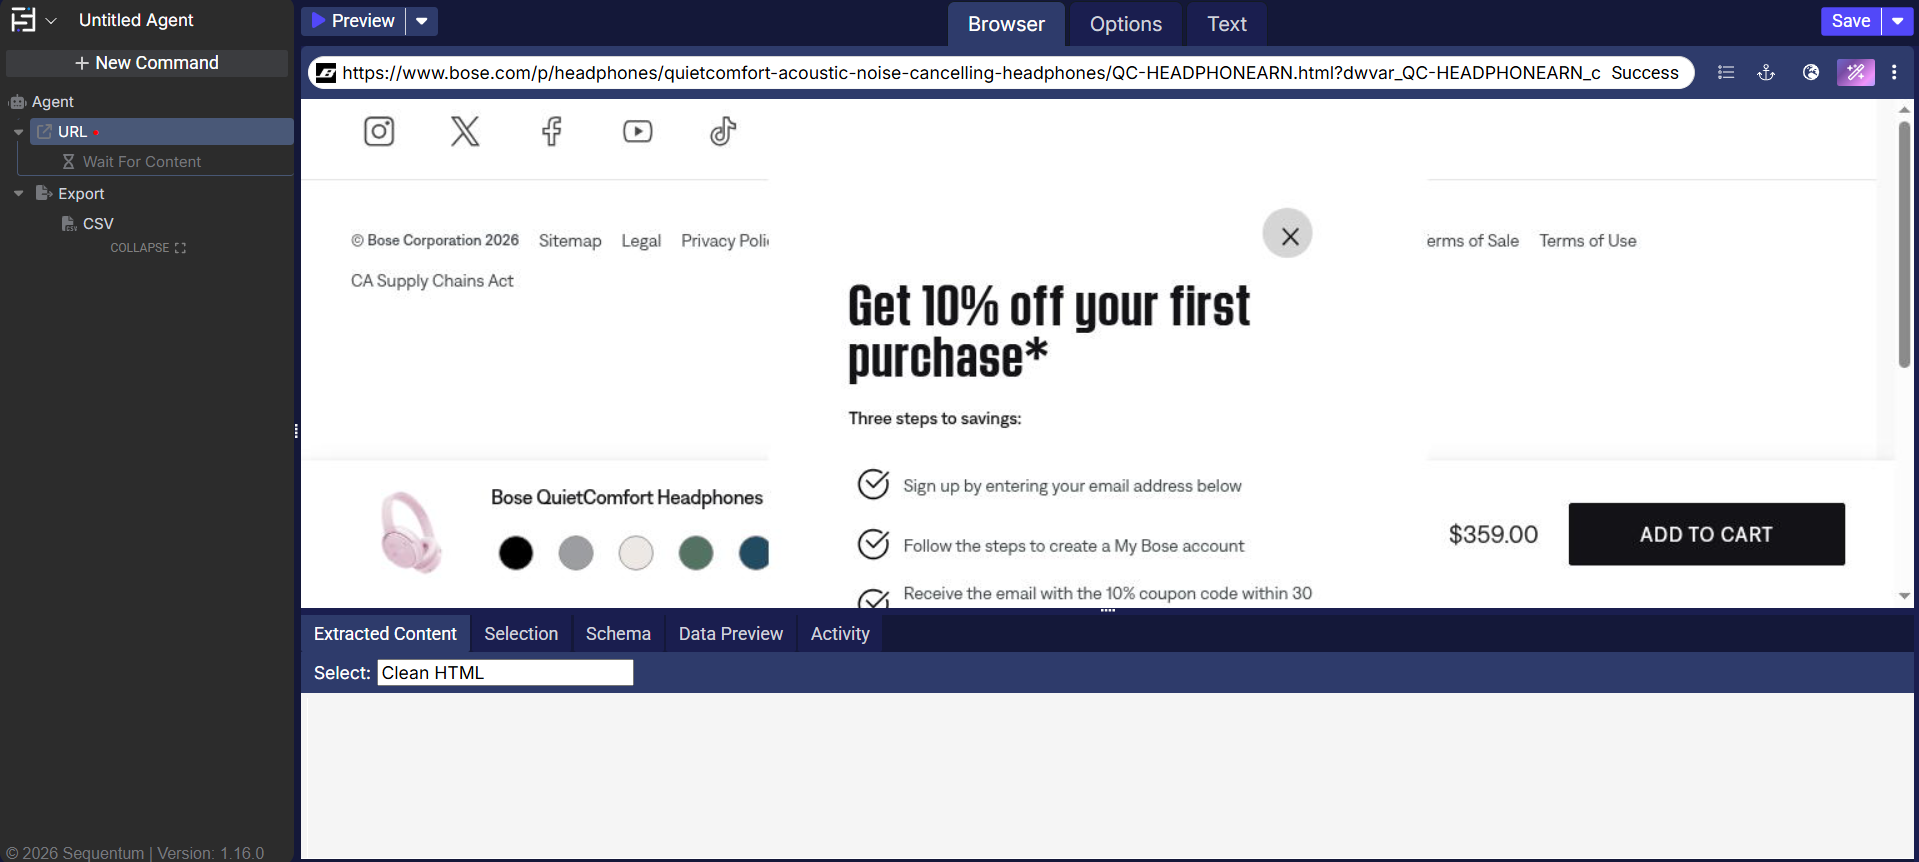
URL command
Step 11: Further Add an Action command to click the “Add to Cart” button
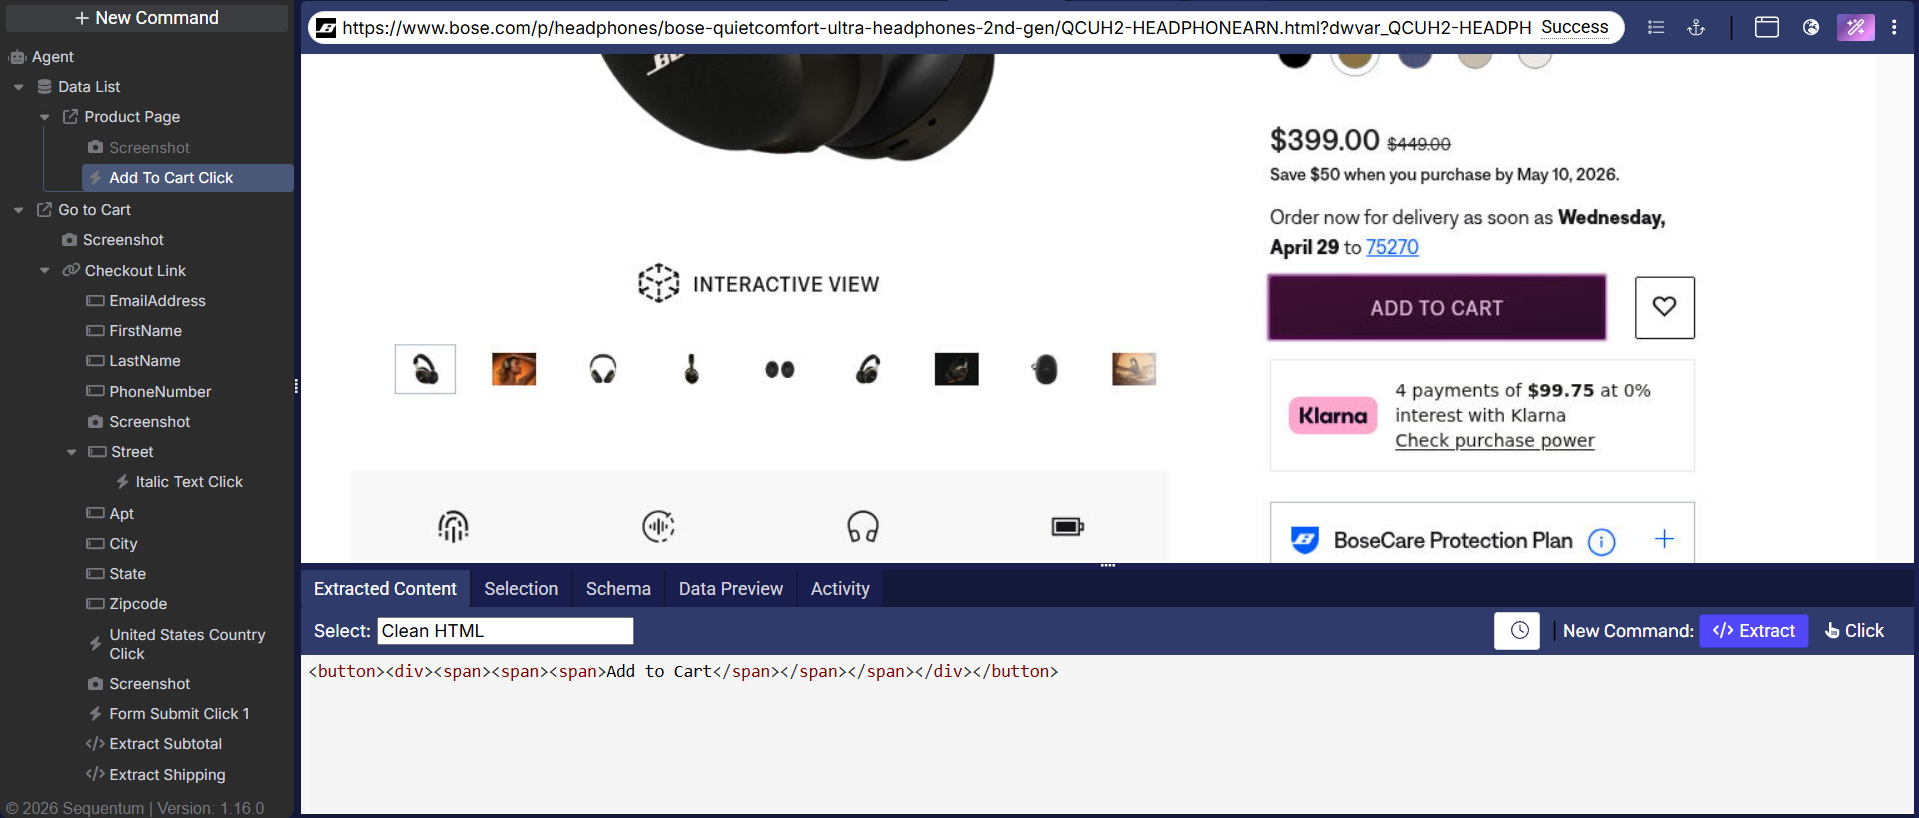
Add to Cart page
Step 12: After clicking on add to card, the user will land on the checkout page. Now, click on the checkout.

Checkout page
Step 13: Add Input Action commands to enter customer details from Agent input parameters.
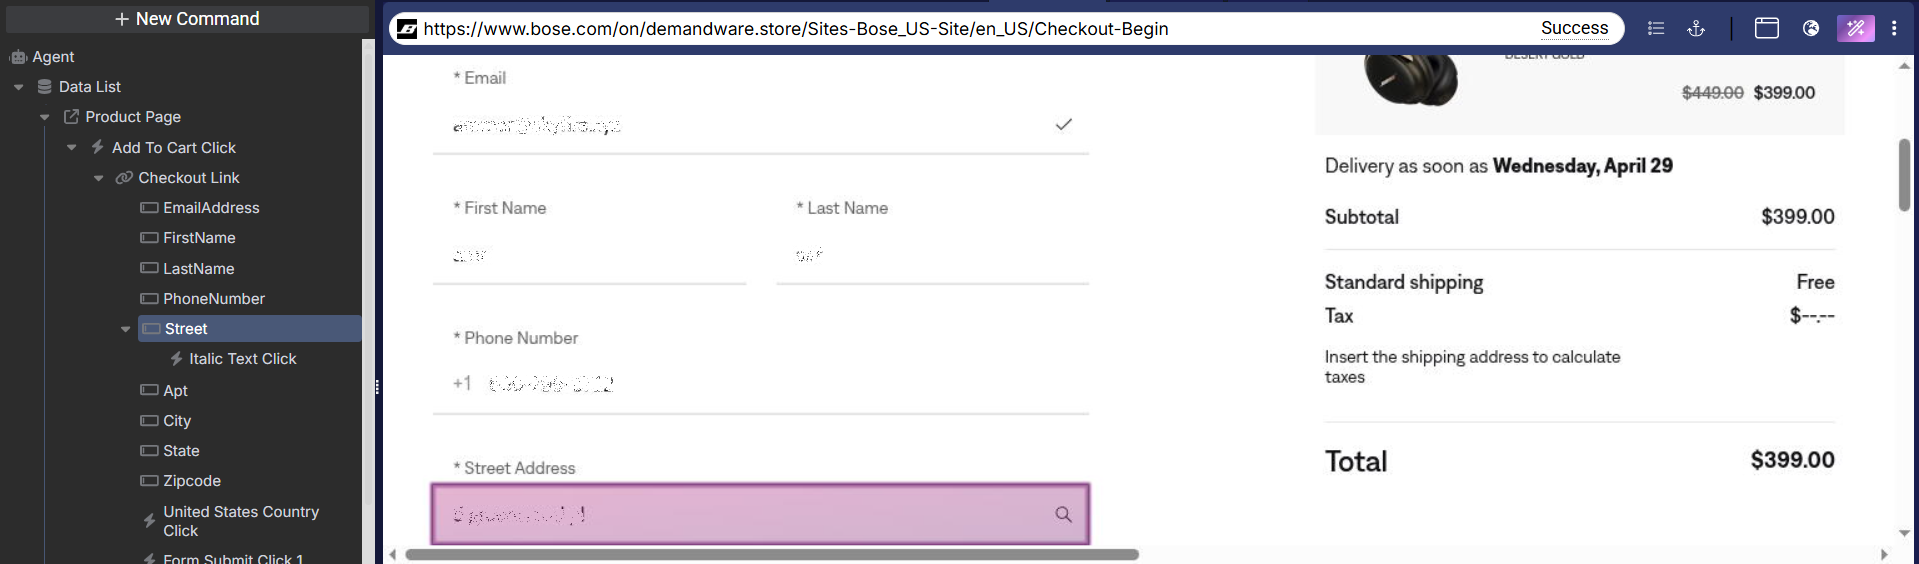
Customer detail page
Step 14: Now, click on the Proceed to Payment details button using an Action command.
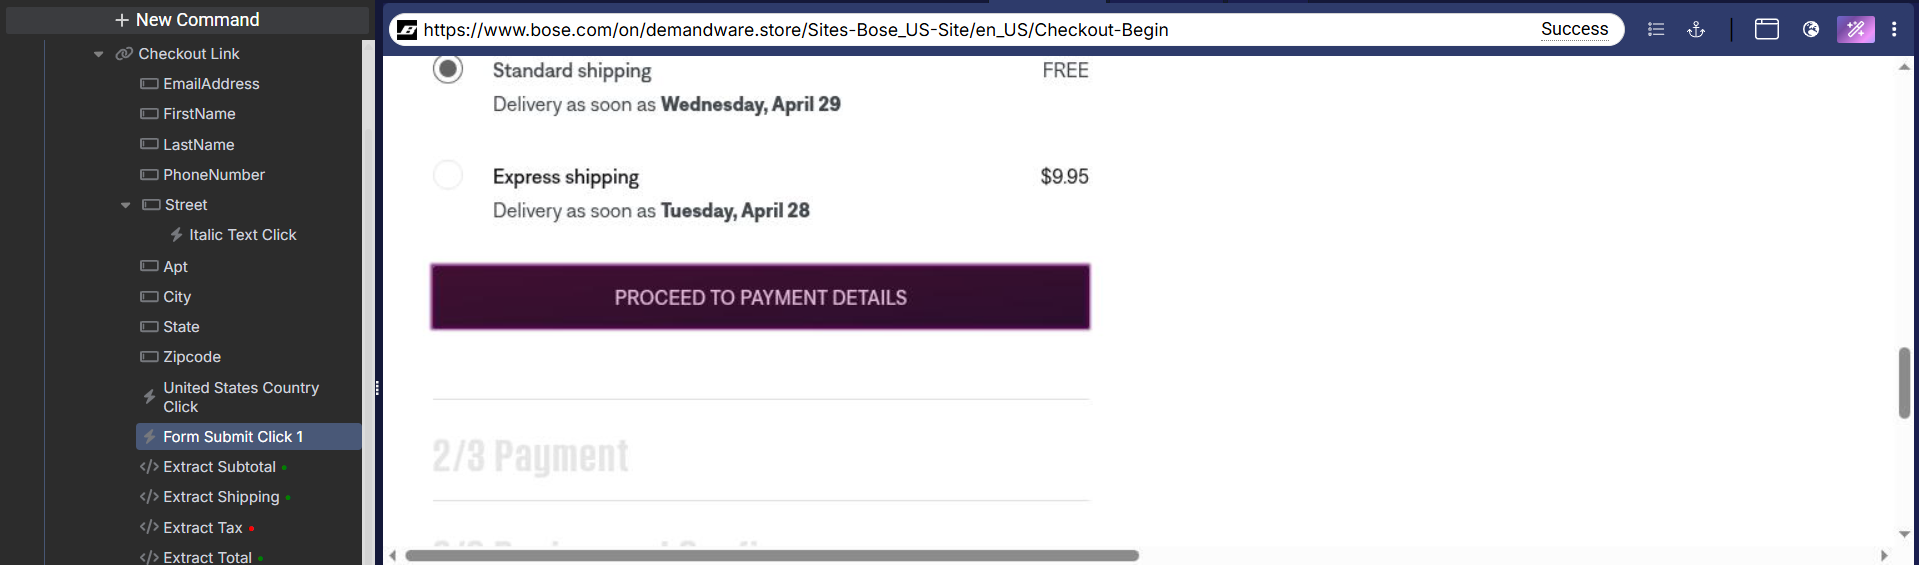
Payment detail page
Step 15: Add Input Action command to enter the card details from the Agent input parameters.
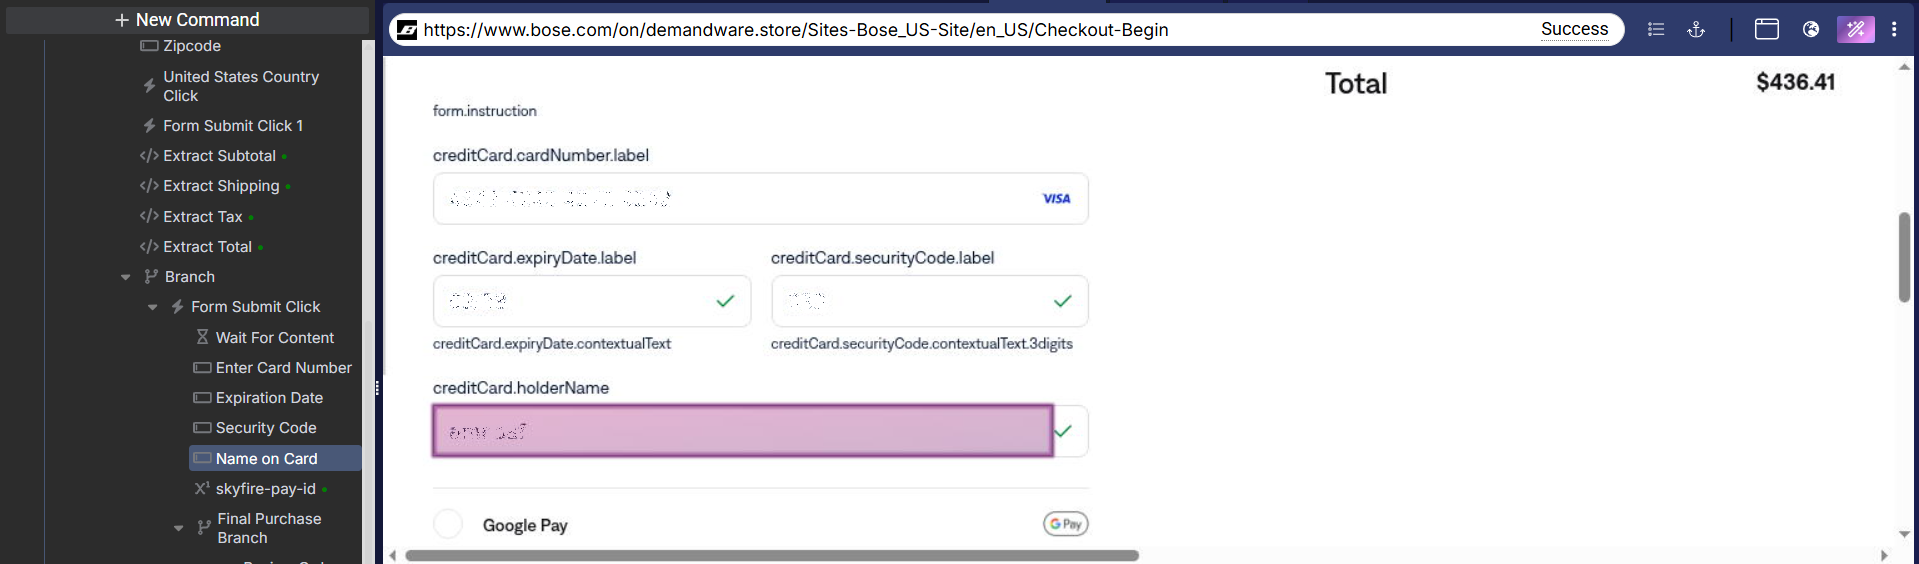
Card details
Step 16: Submit the form to complete the checkout using an Action command.
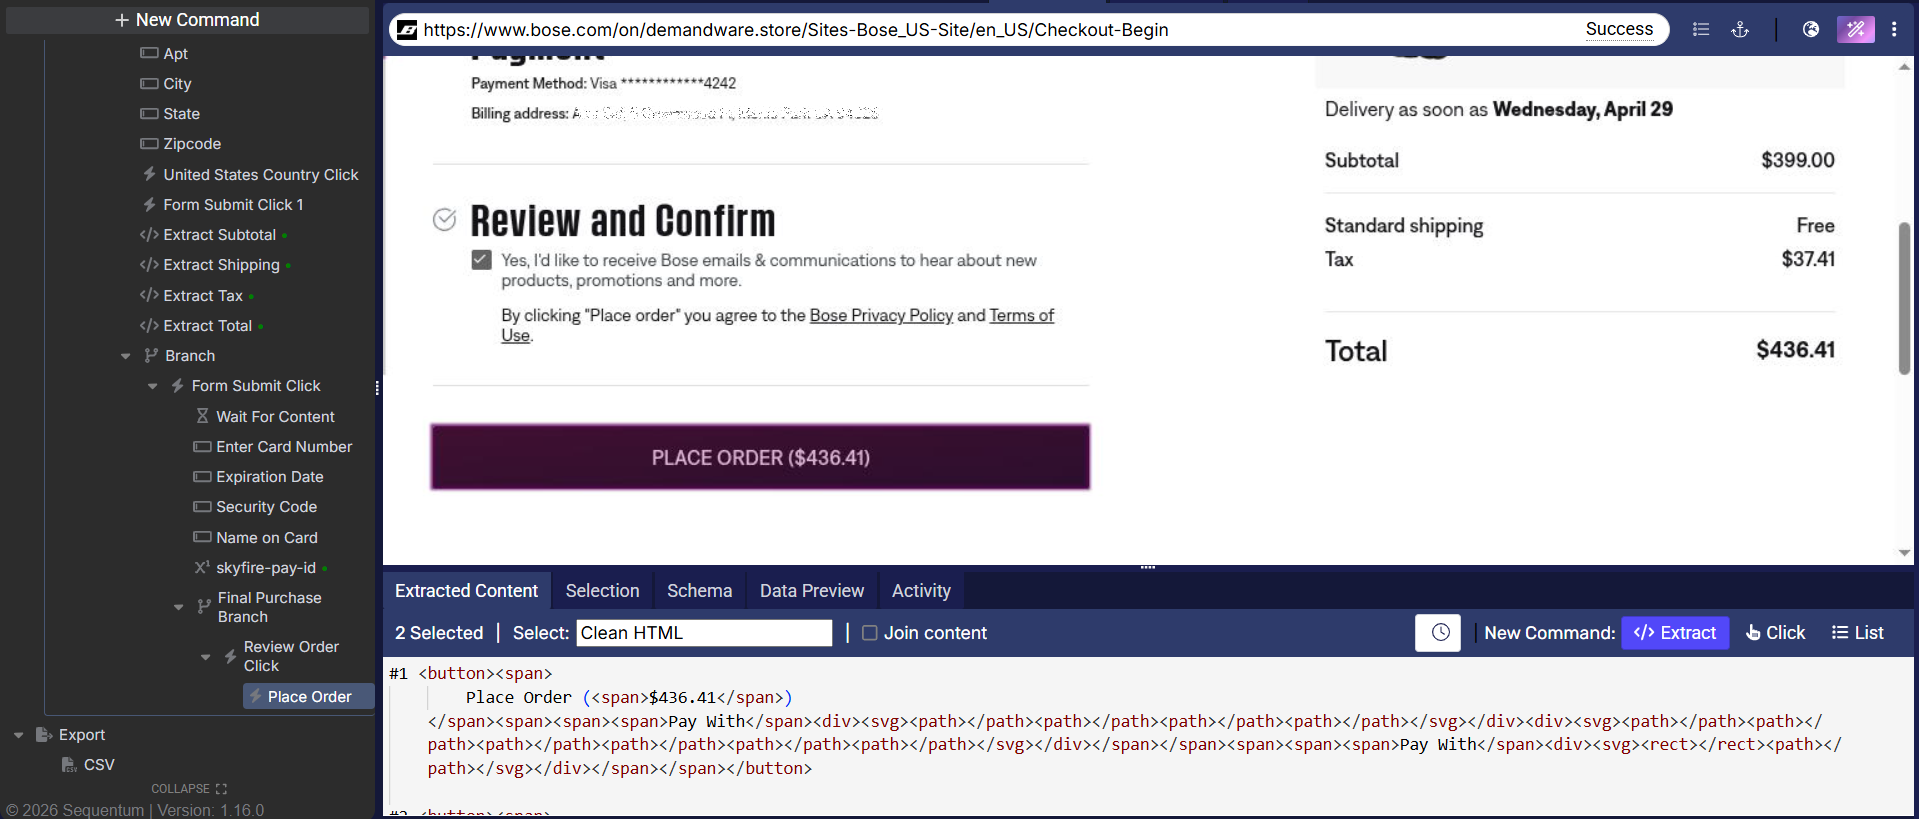
Checkout page
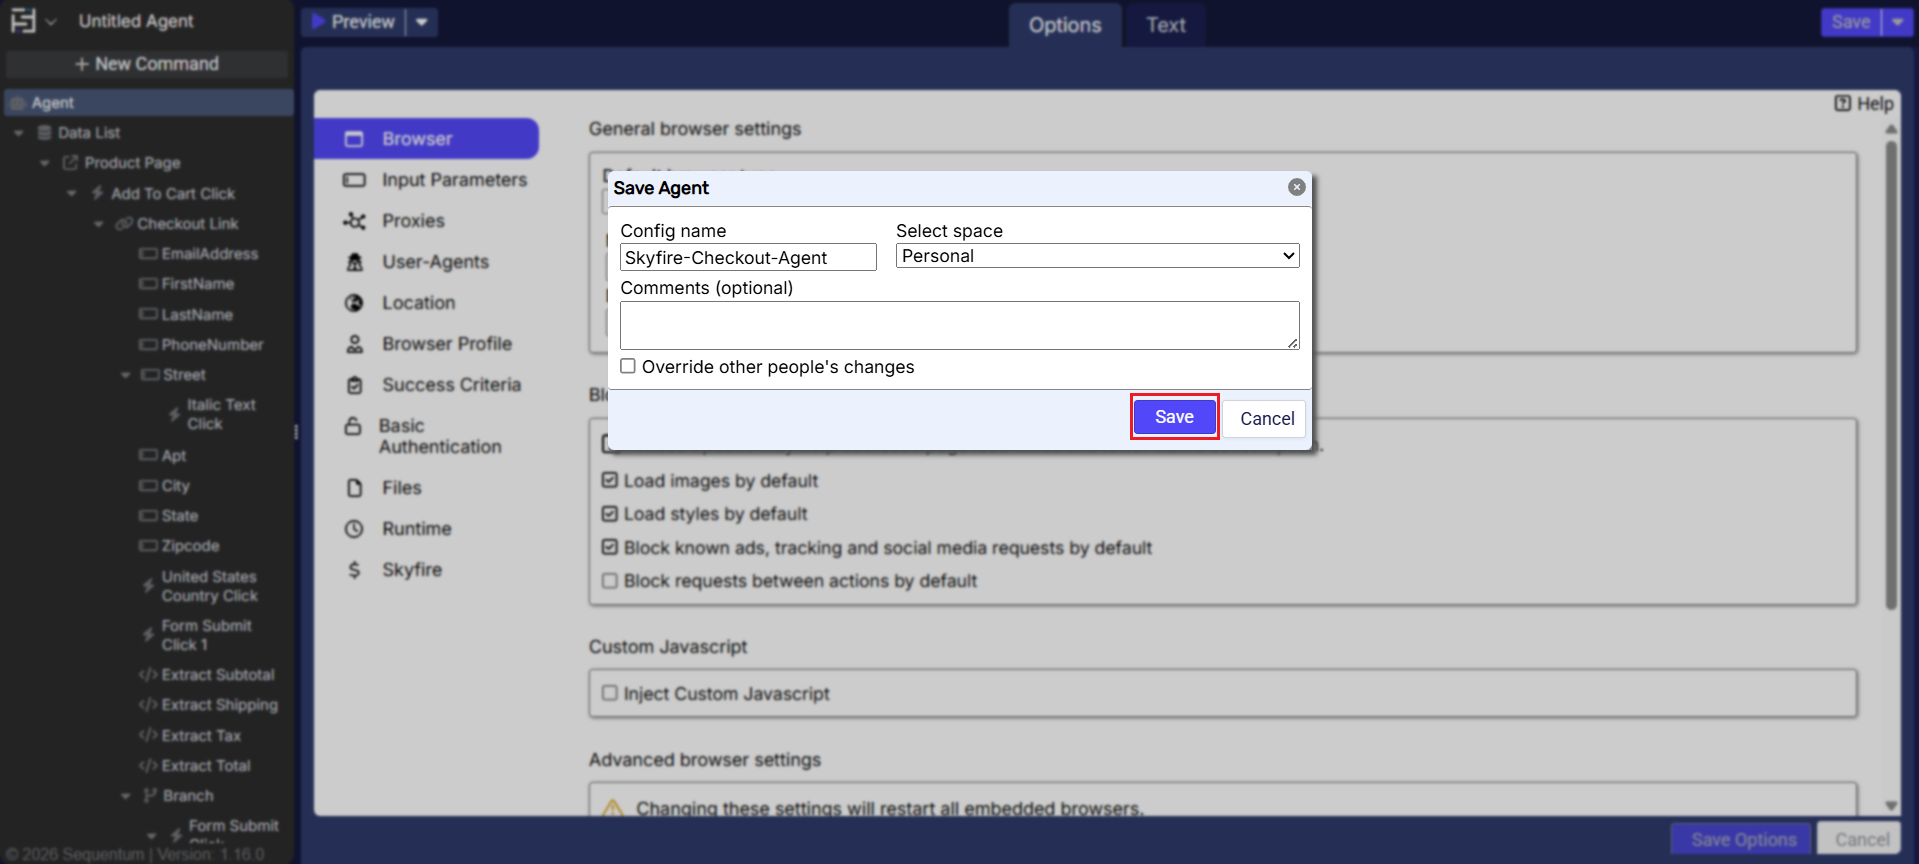
Step 17: Click on the Save button on the top right corner and provide a name for your agent. After entering the name, click on the Save button in the popup to finalize the process.
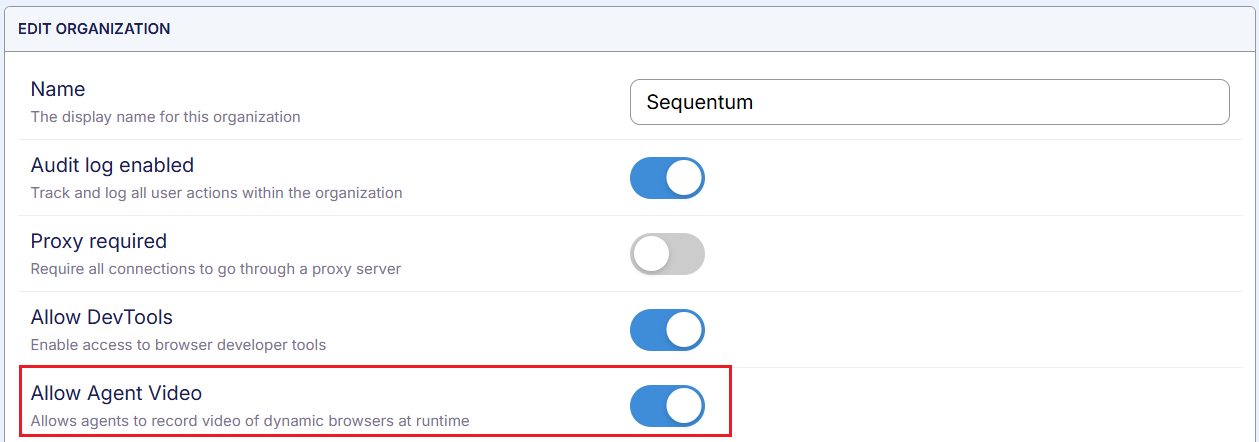
Additionally, we have the option to store a video recording of the agent's runtime, which can be helpful during the checkout process and assist merchants in their anti-fraud efforts.
To learn more about the video recording feature, refer to Video Recordings of Agents at Runtime
NOTE: To enable this feature, a user must first enable the toggle “Allow Agent Video” present in their Organisation Settings
Step 18: In order to run the agent, a user needs to get to Control Centre by navigating to “Exit to Dashboard”
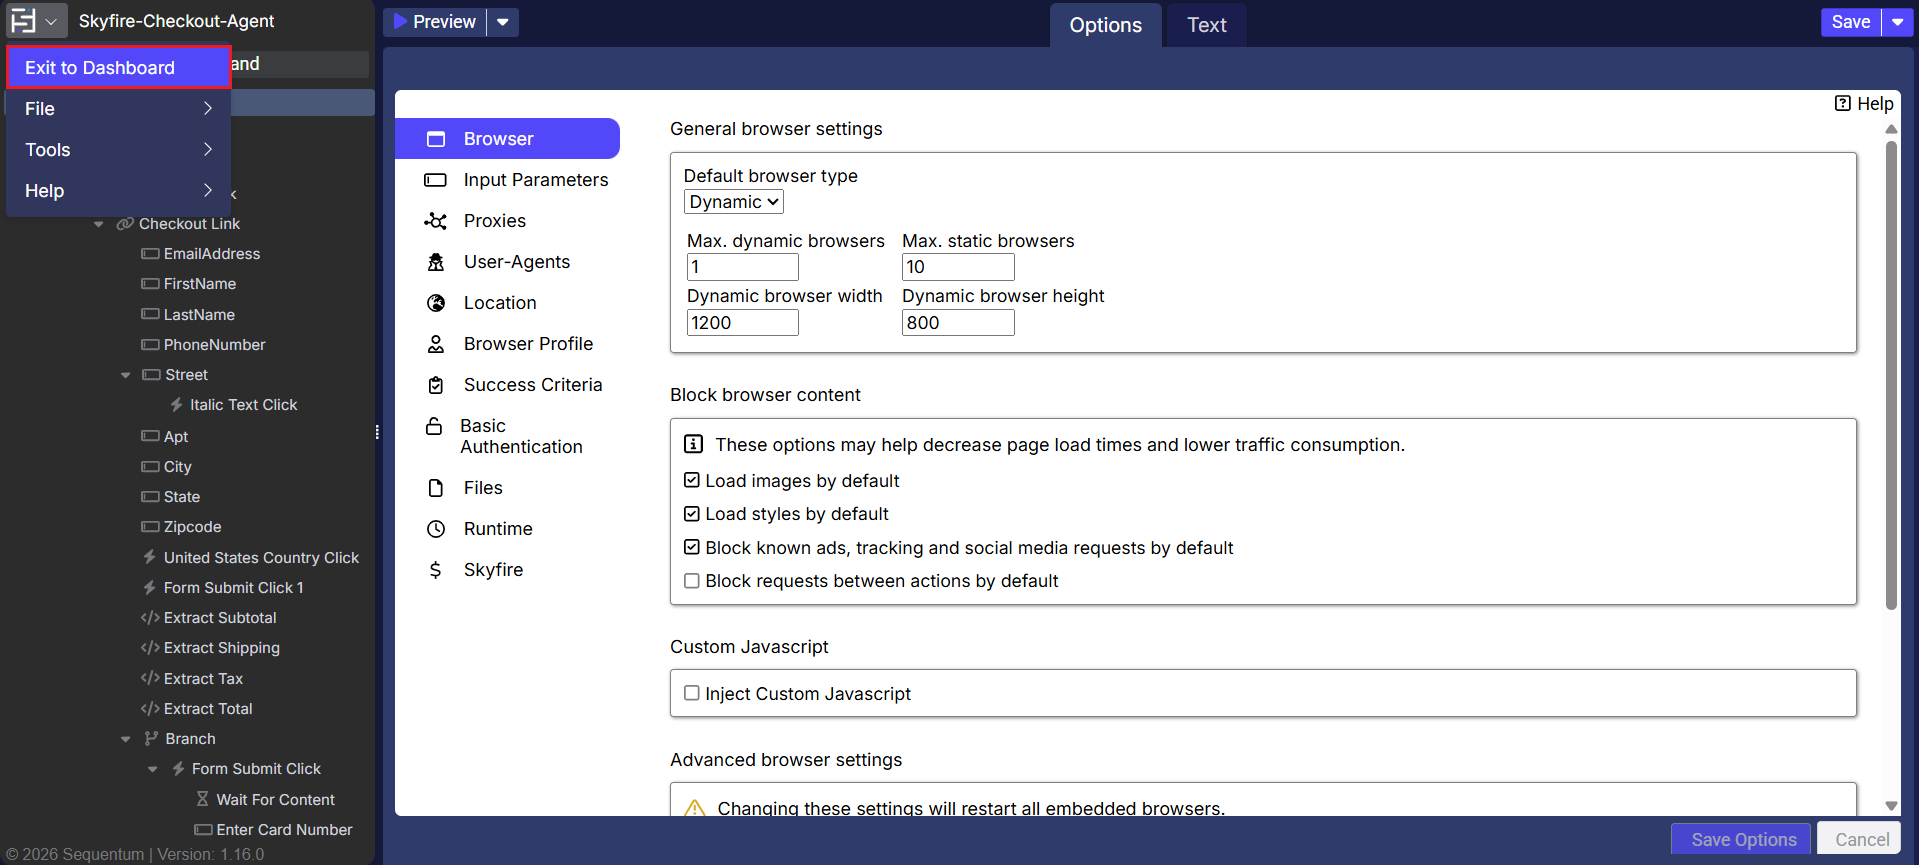
Step 19: Click on Run to execute the agent run.

The checkout agent is created, and the user can proceed with their purchase.